


Zoom app submission can be complicated for those going through it for the first time.
To help, we’ll walk you through every step of the Zoom app submission process, from creating your Zoom marketplace app to publishing it and submitting it for Zoom’s review. We’ll note what information you have to include and how to maximize your chances of success, as well as how to help the Zoom team test your app correctly.
Step 1: Login to the Zoom App Marketplace & create an app
Sign in or sign up for Zoom's App Marketplace. Once signed in, click on the "Develop" tab and then select "Build App.”
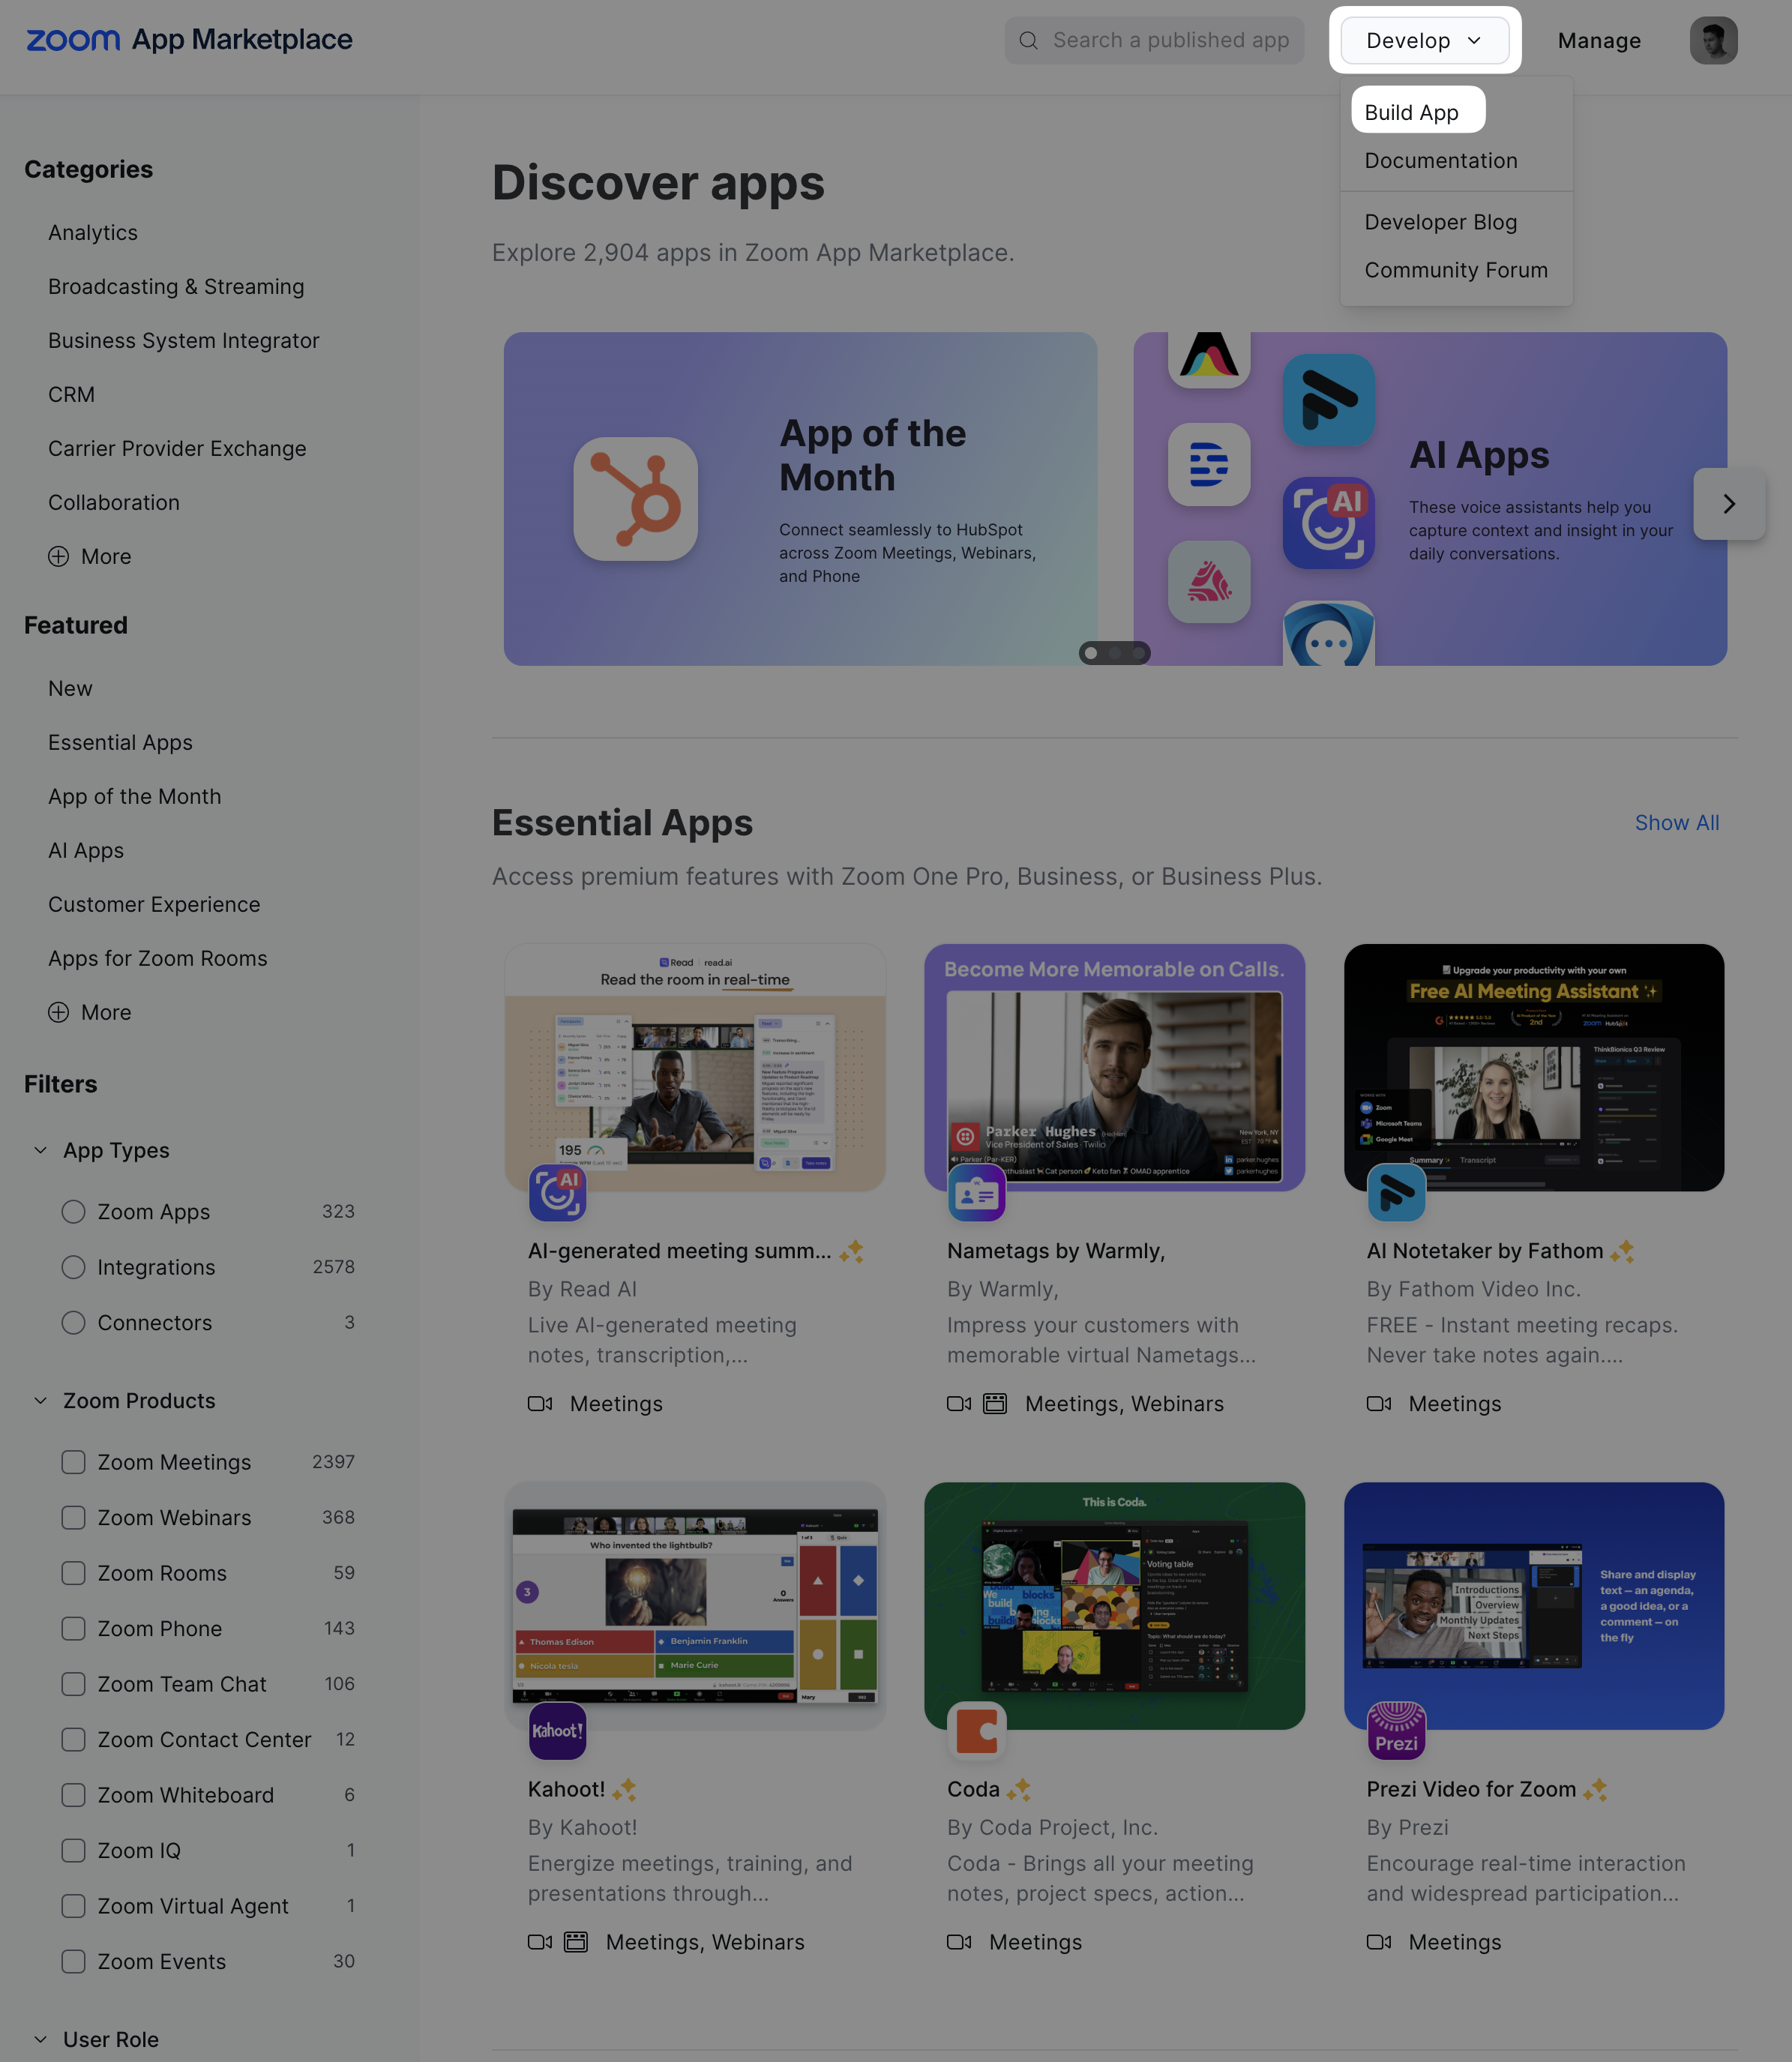
After clicking the "Build App" button, you will be prompted on the type of app you want to build. You can select "General" unless you have a specific use case.
Step 2: Configure your new Zoom app
The first thing to do is select how your users will manage your app:
- User-managed: Individual users grant your app permissions to access their personal Zoom data, similar to how apps request access to an individual’s Gmail or Google Drive
- Admin-managed: Organization admins grant your app permissions to access data and settings for the entire organization, similar to a G Suite (Google Workspace) admin granting domain-wide permissions
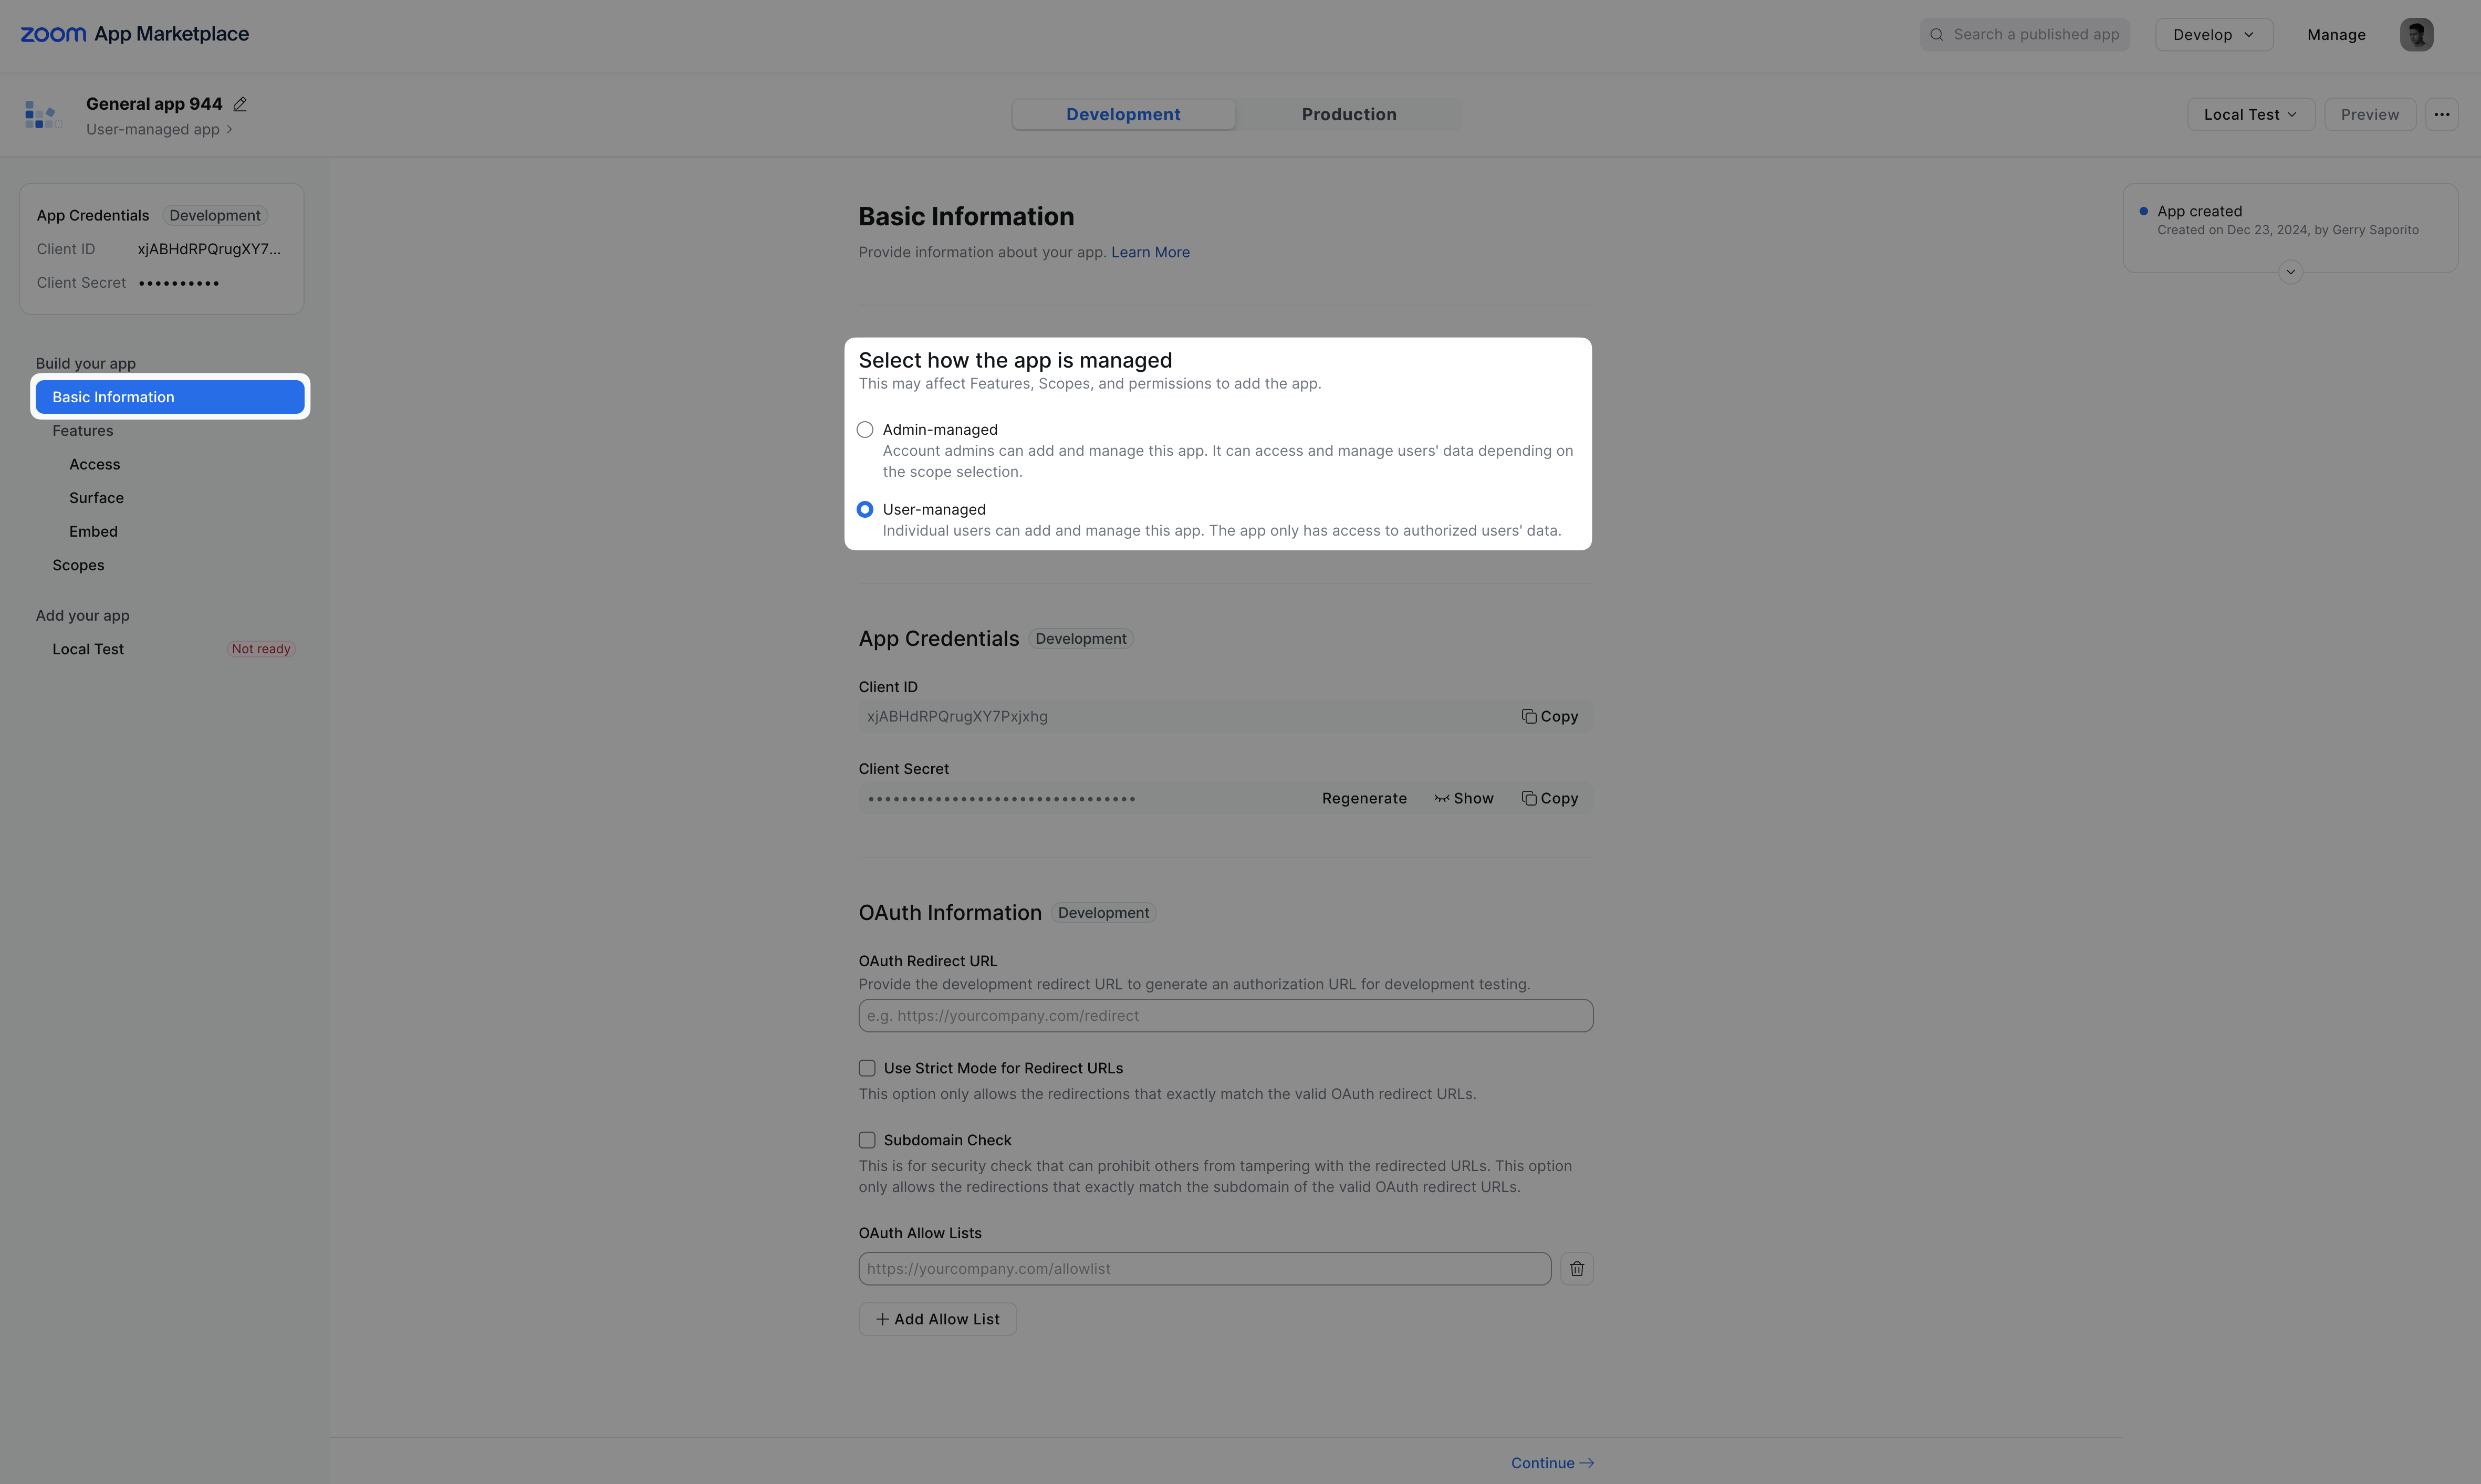
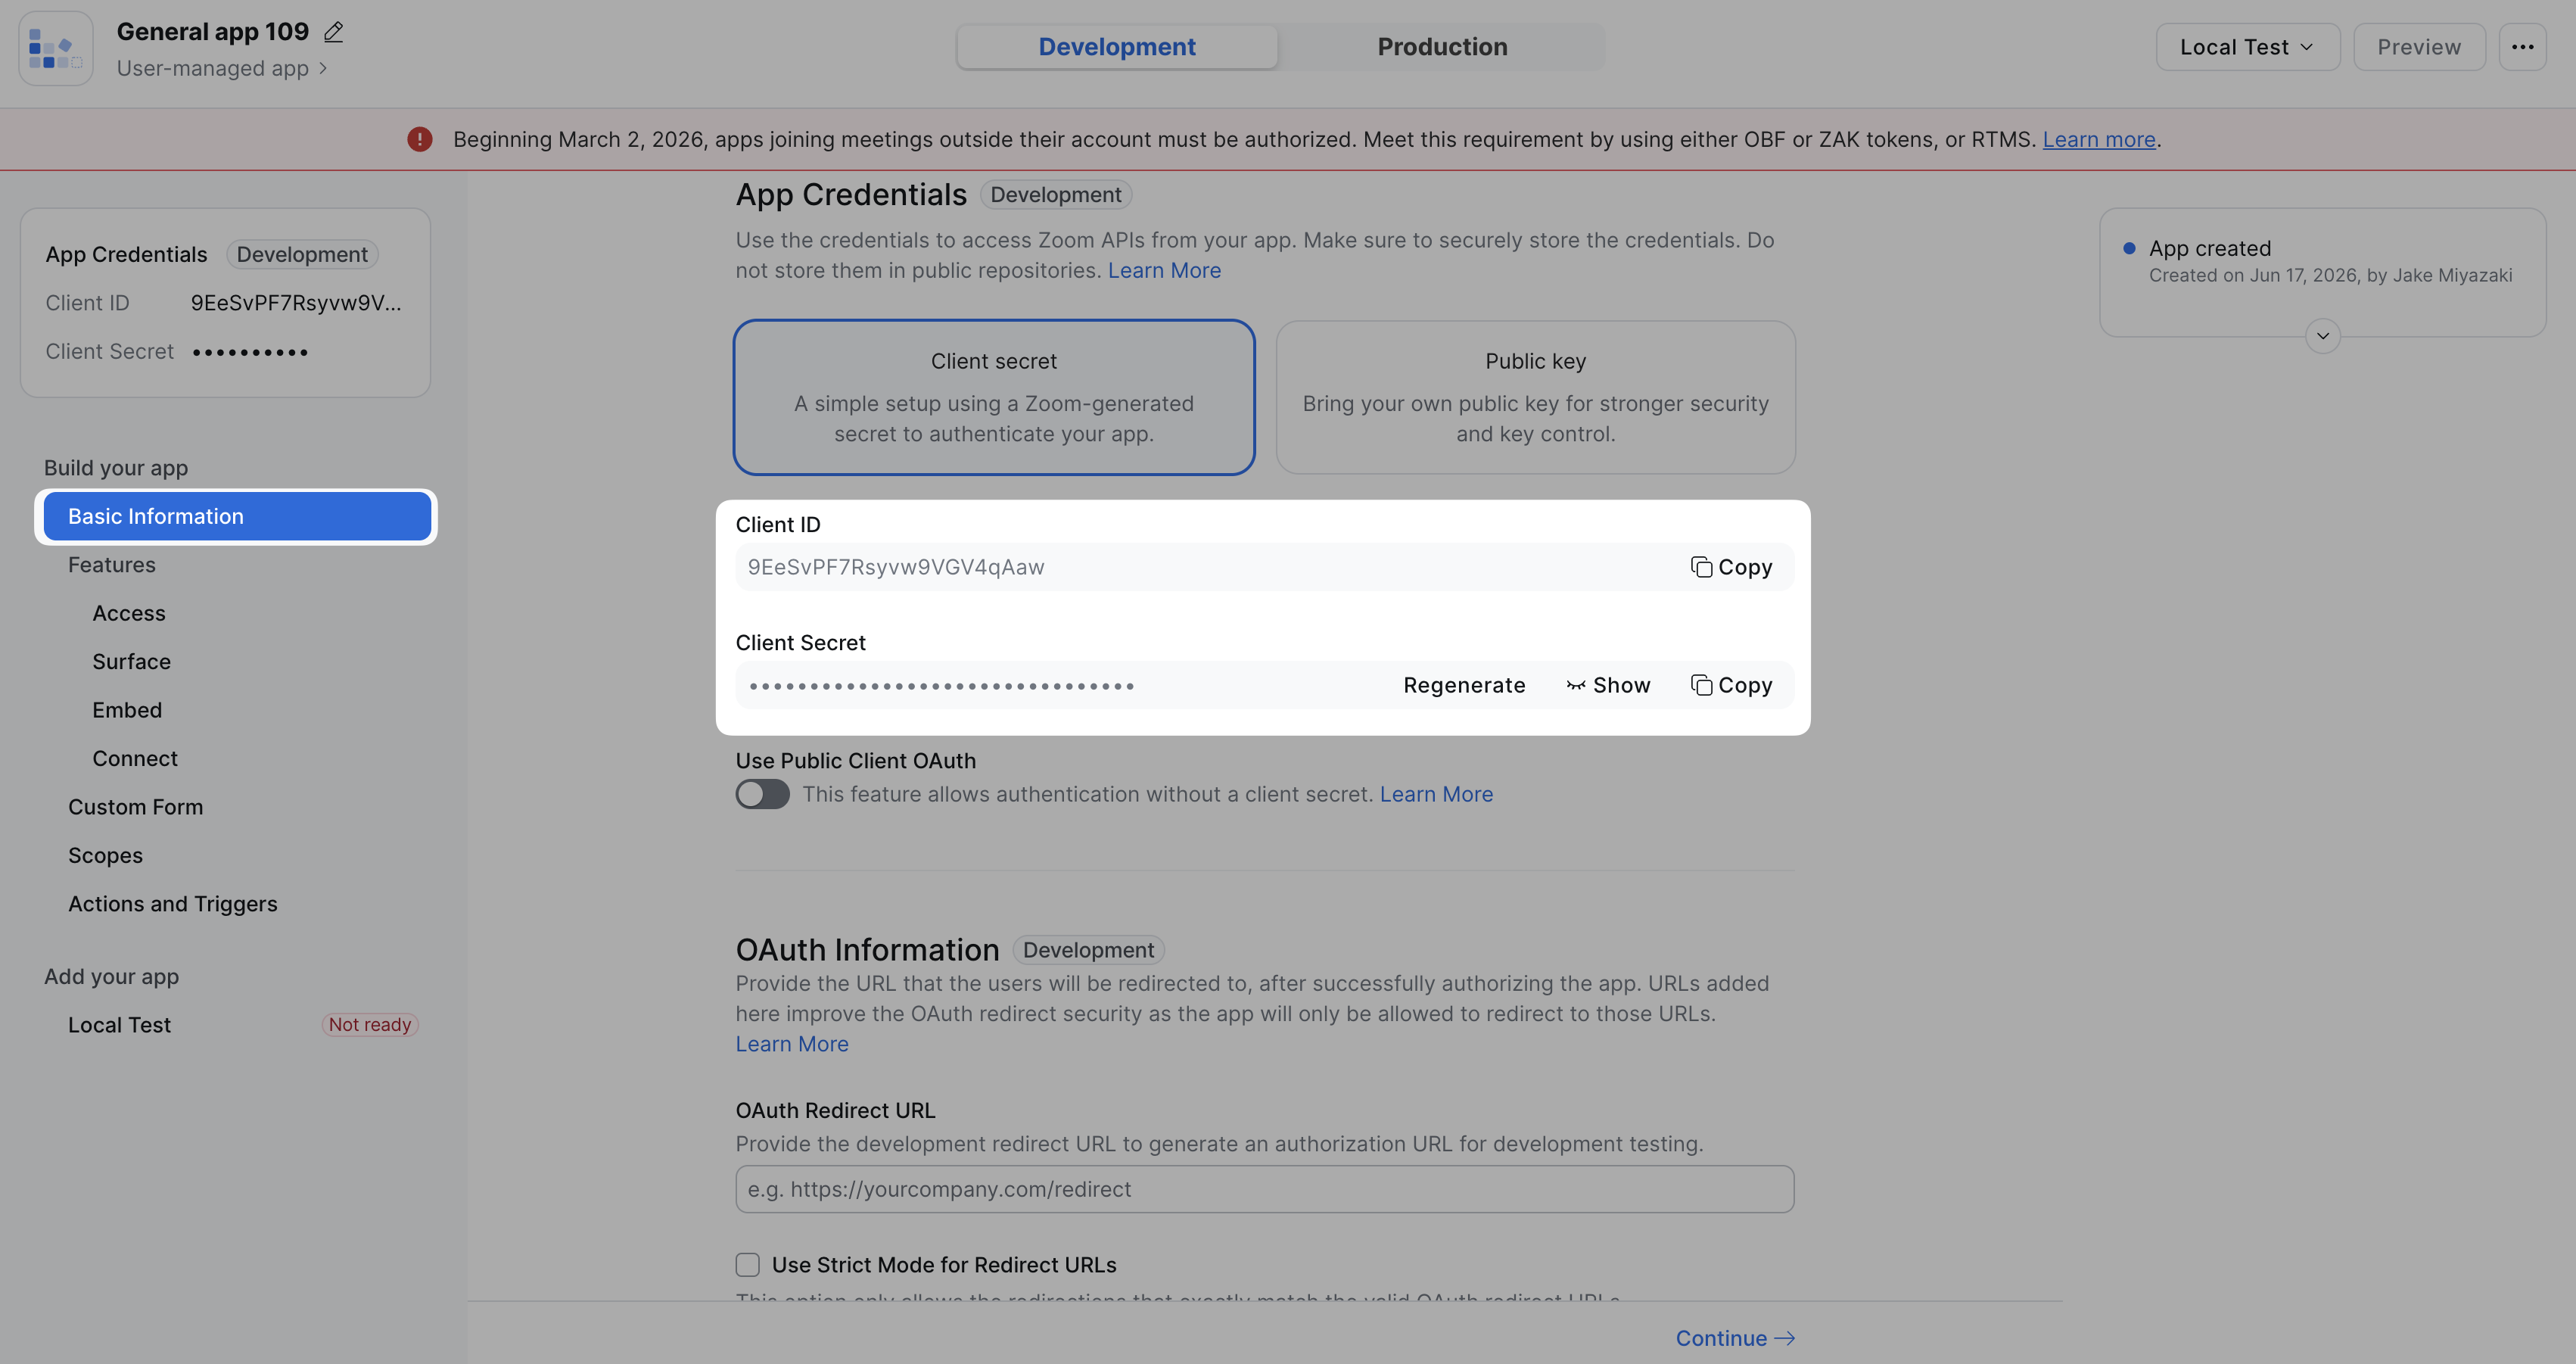
Step 3: Get your Zoom app credentials
Once done, head back to the Basic Information tab. There is a section that's called "App Credentials," where you can find your development credentials.
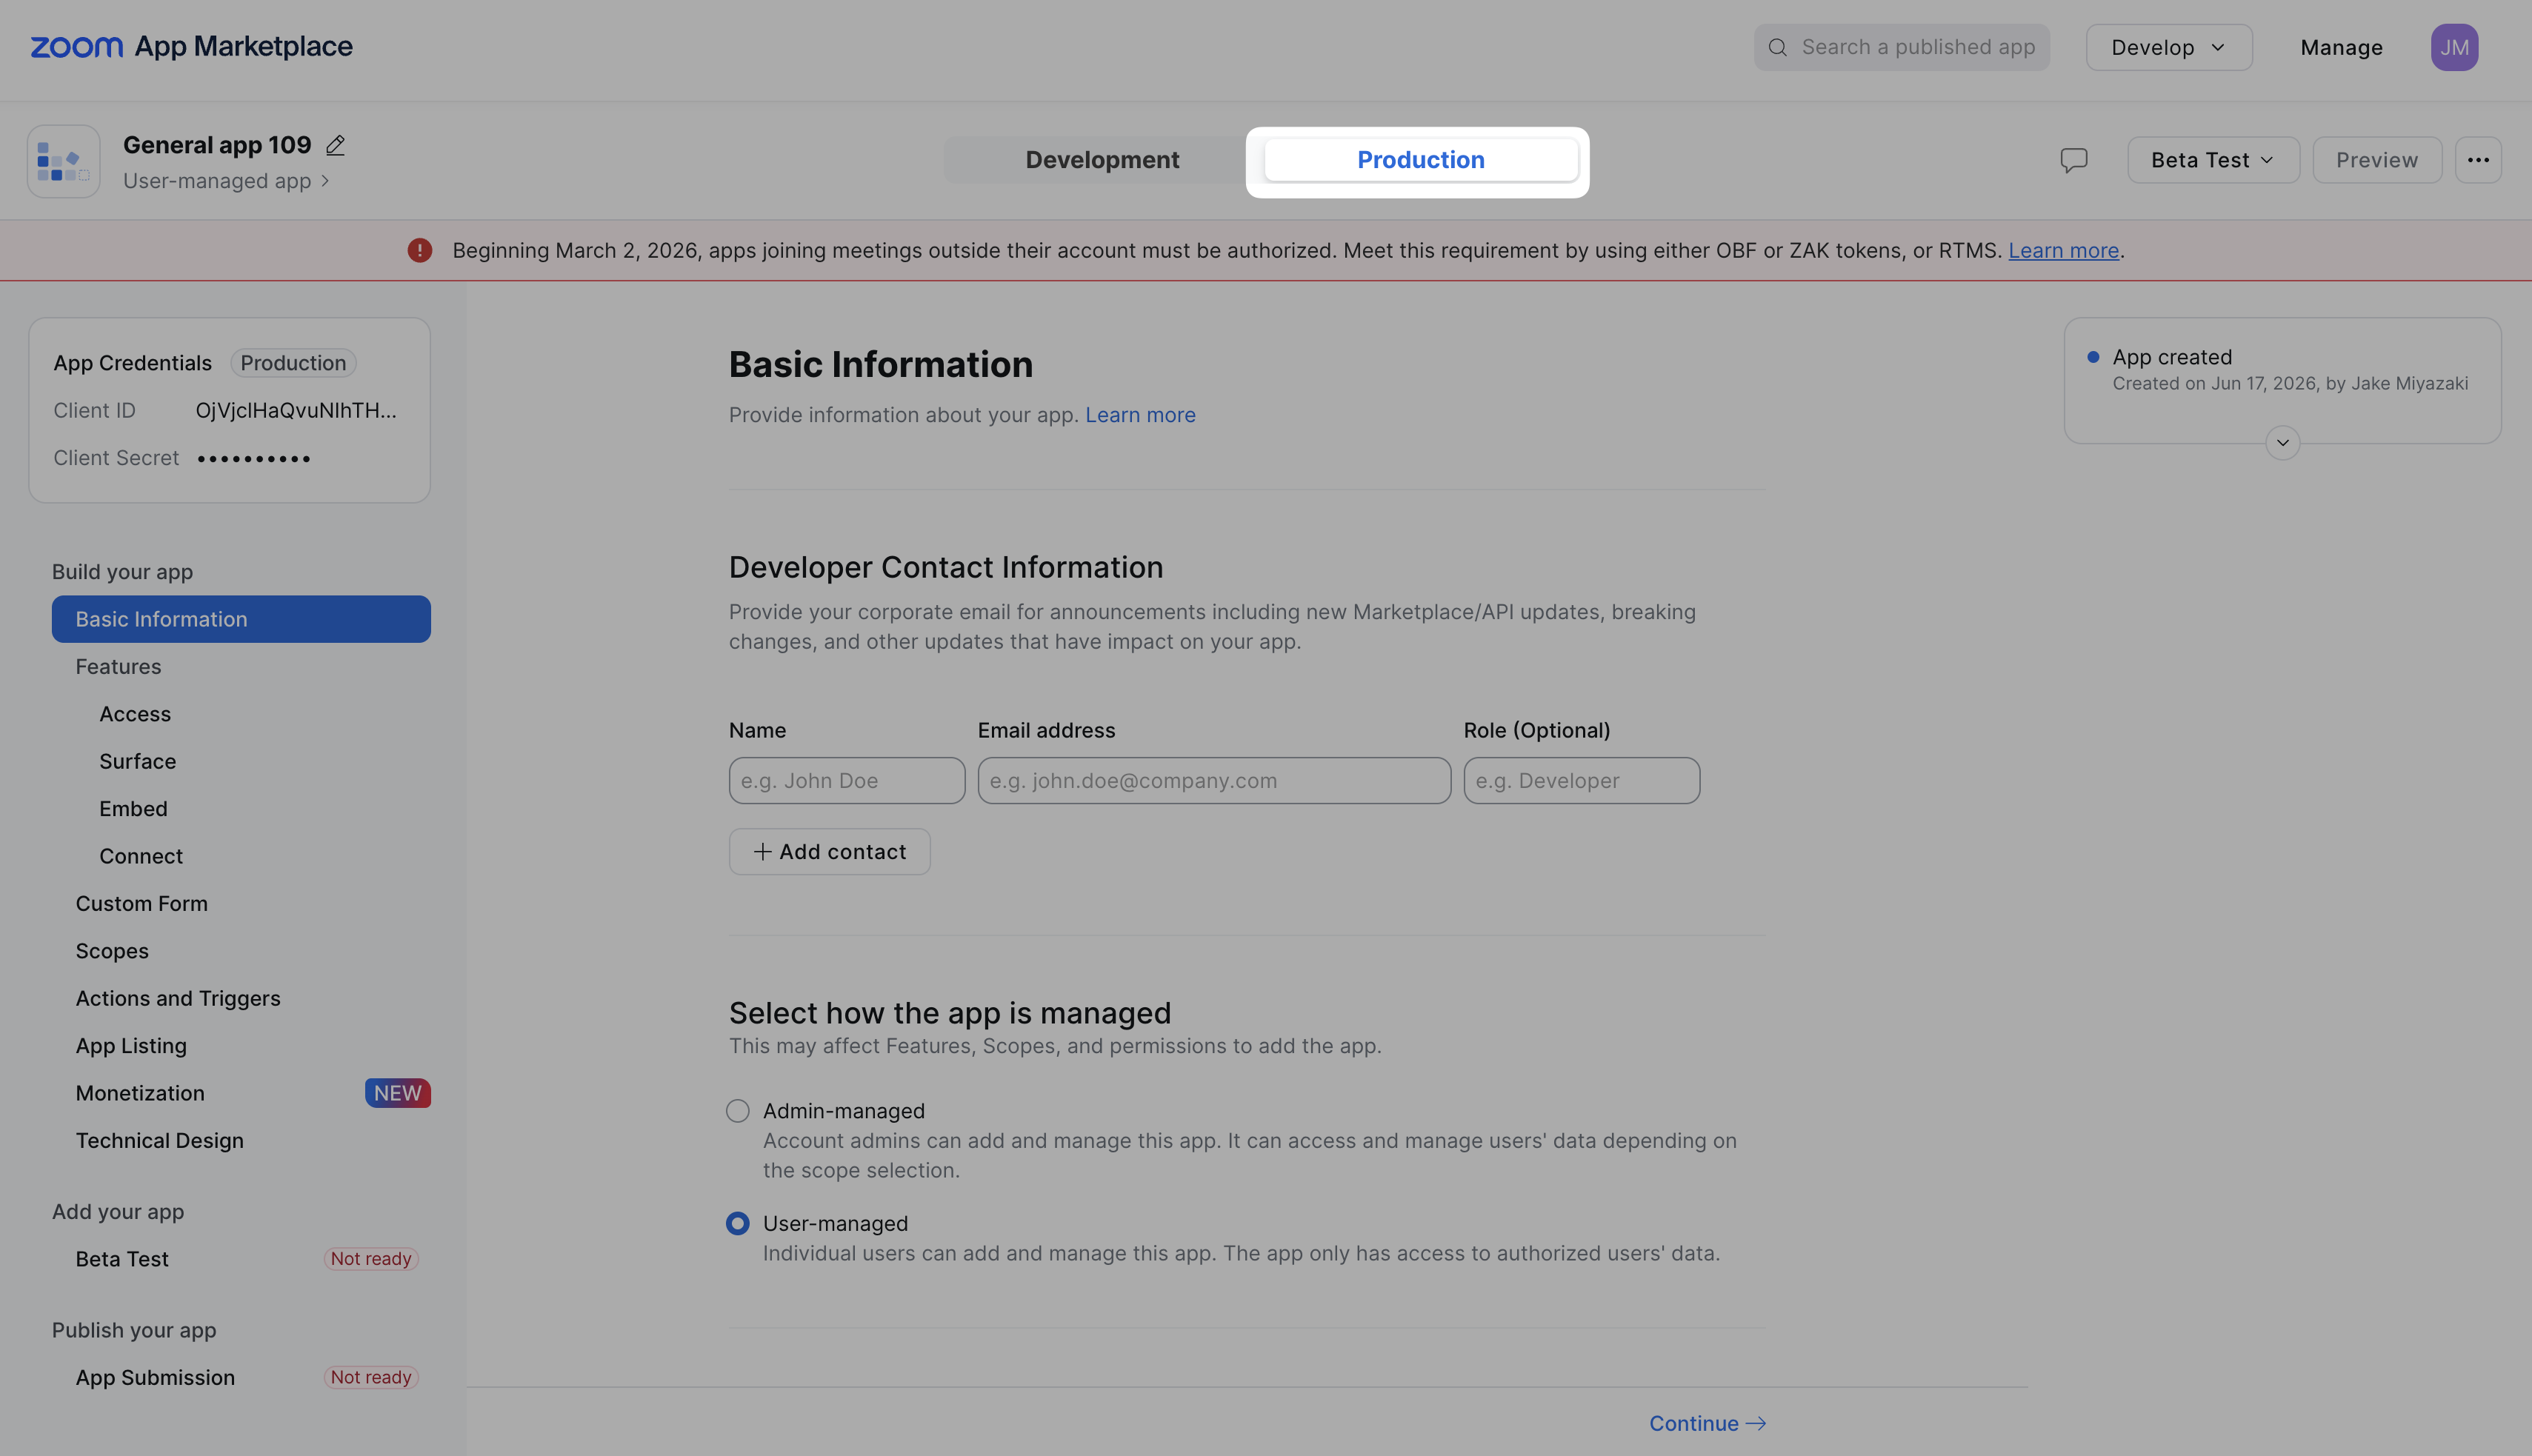
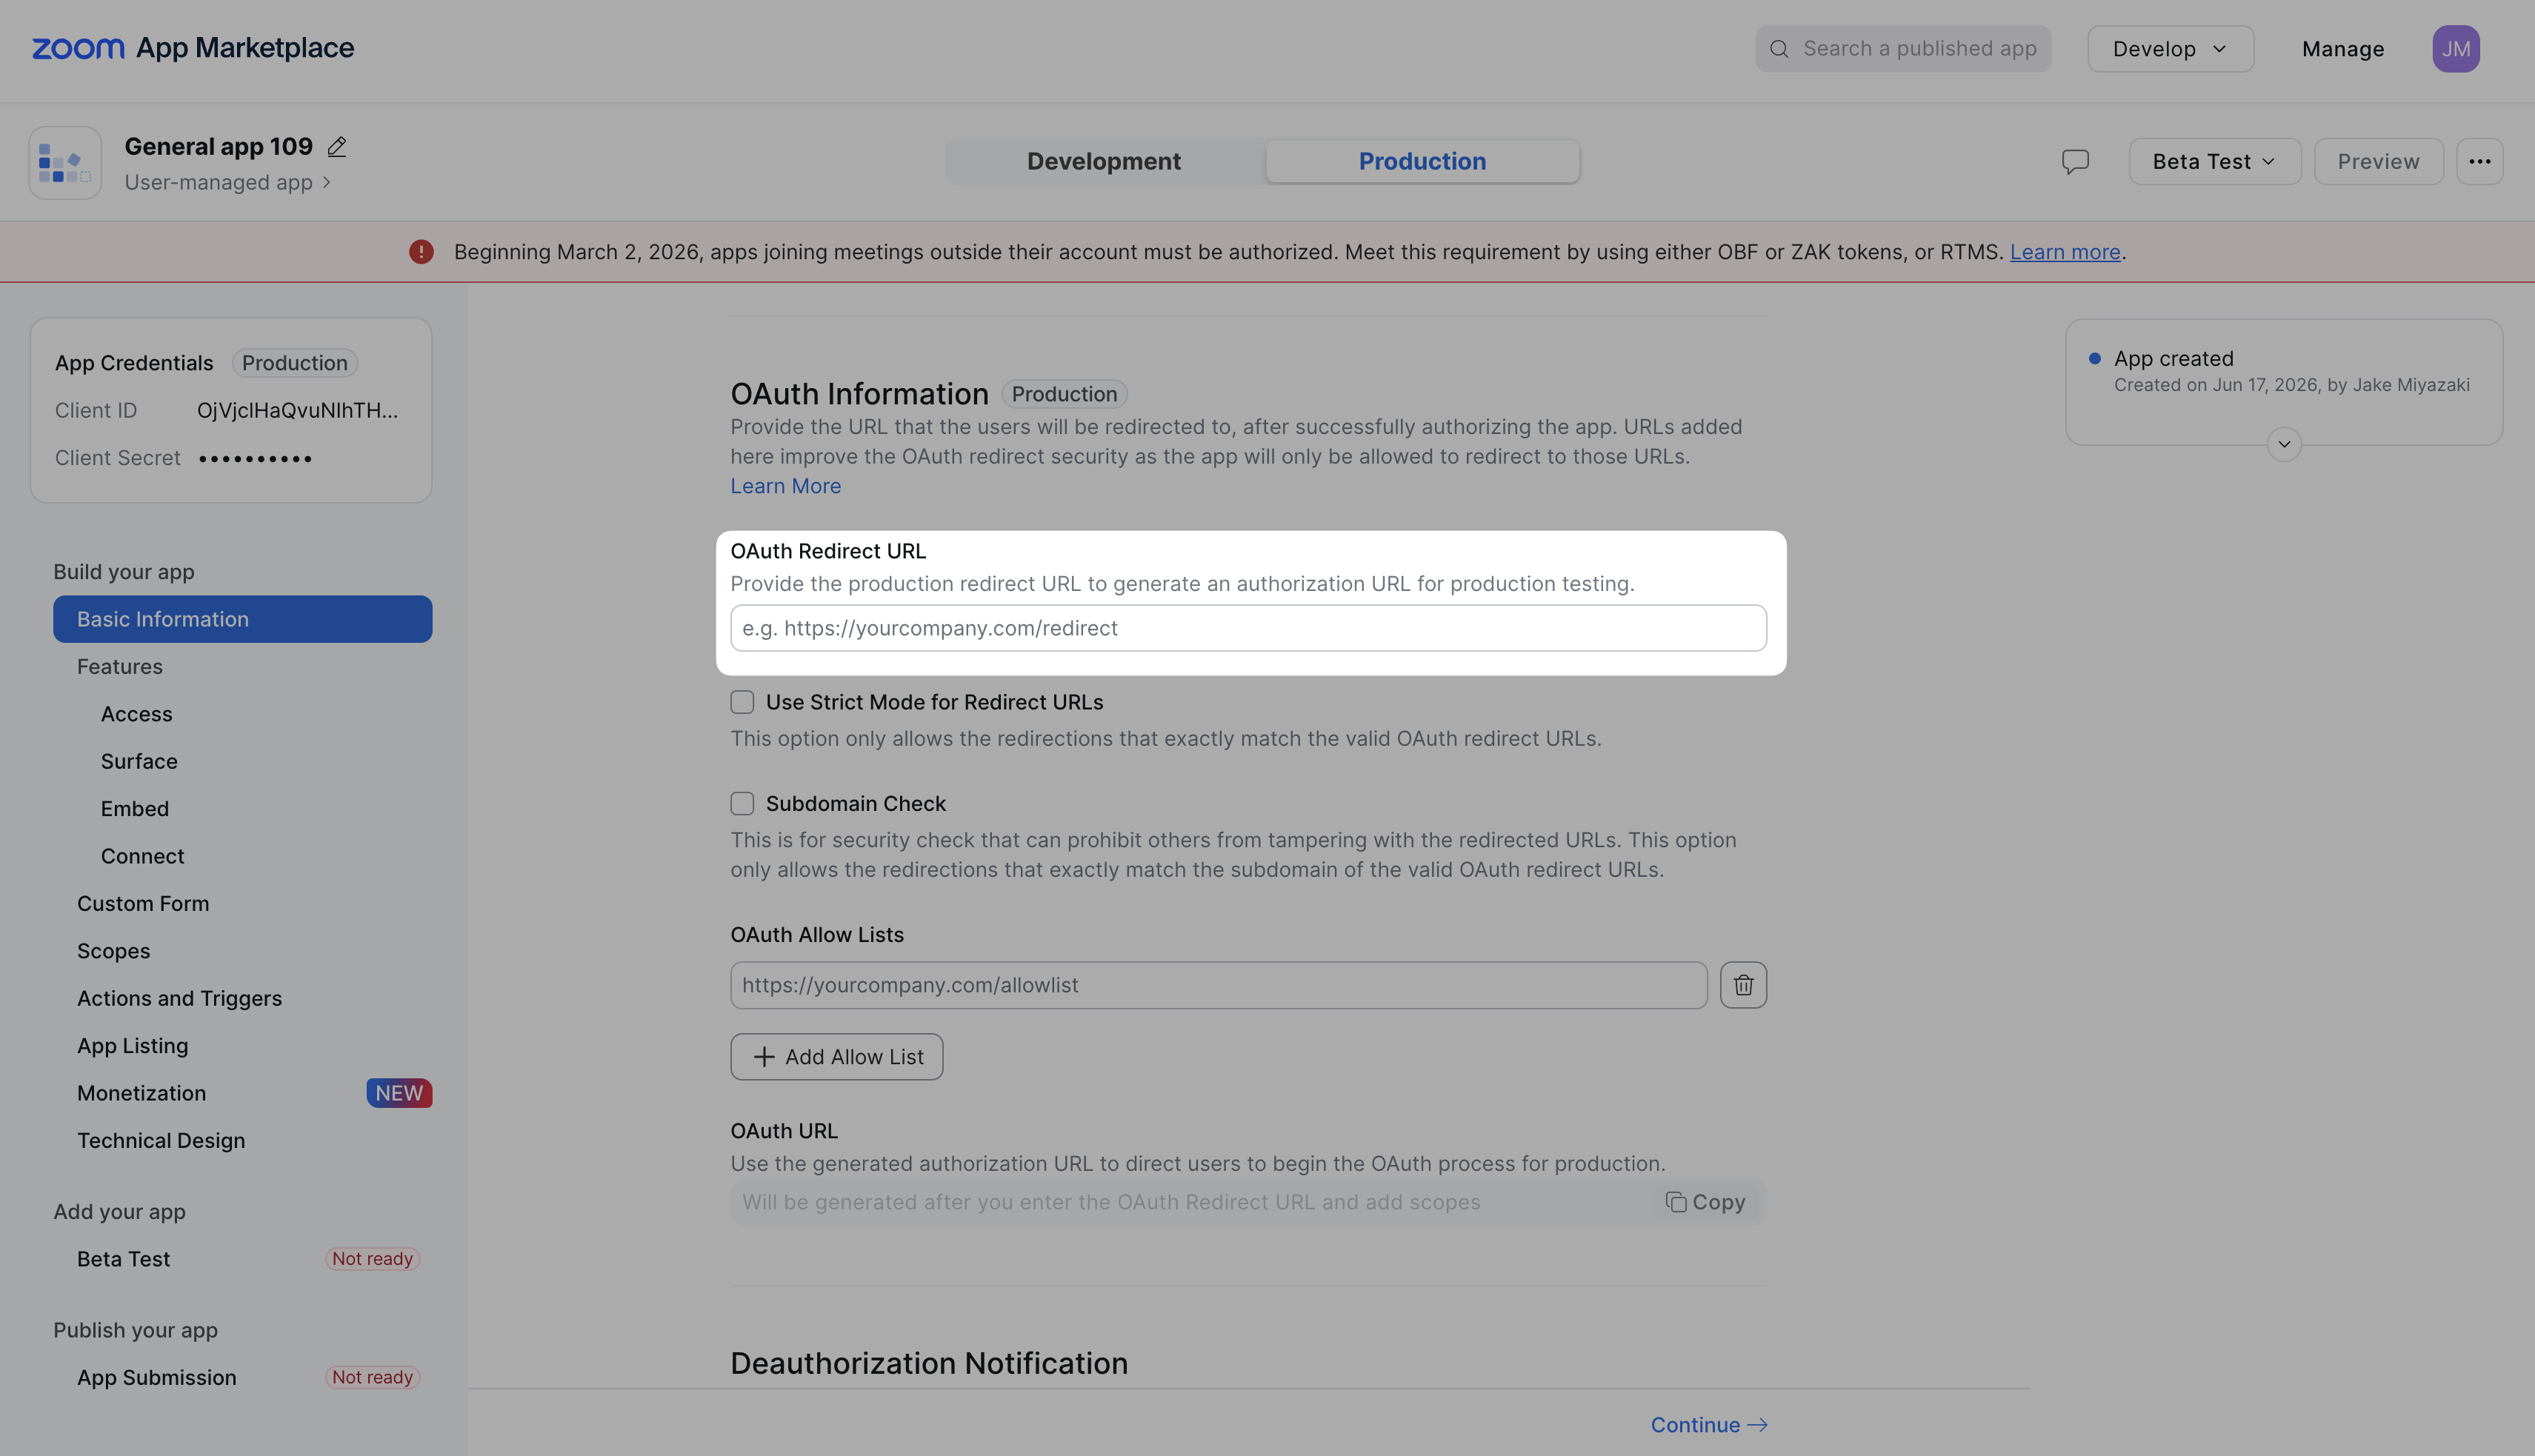
Step 4: Open up the production settings for your Zoom app
Head to your Managed Apps in Zoom's app marketplace. Click on the app you want to publish. After selecting your app, make sure you're in the Production tab, as this is where the app submission details need to be added.
If you are not using OAuth and this field is blank, then update the OAuth Redirect URL to be your app's homepage URL.
Step 5: Update the scopes
Next, head over to the Scopes tab in the sidebar. By default, there is always one scope (pictured below)
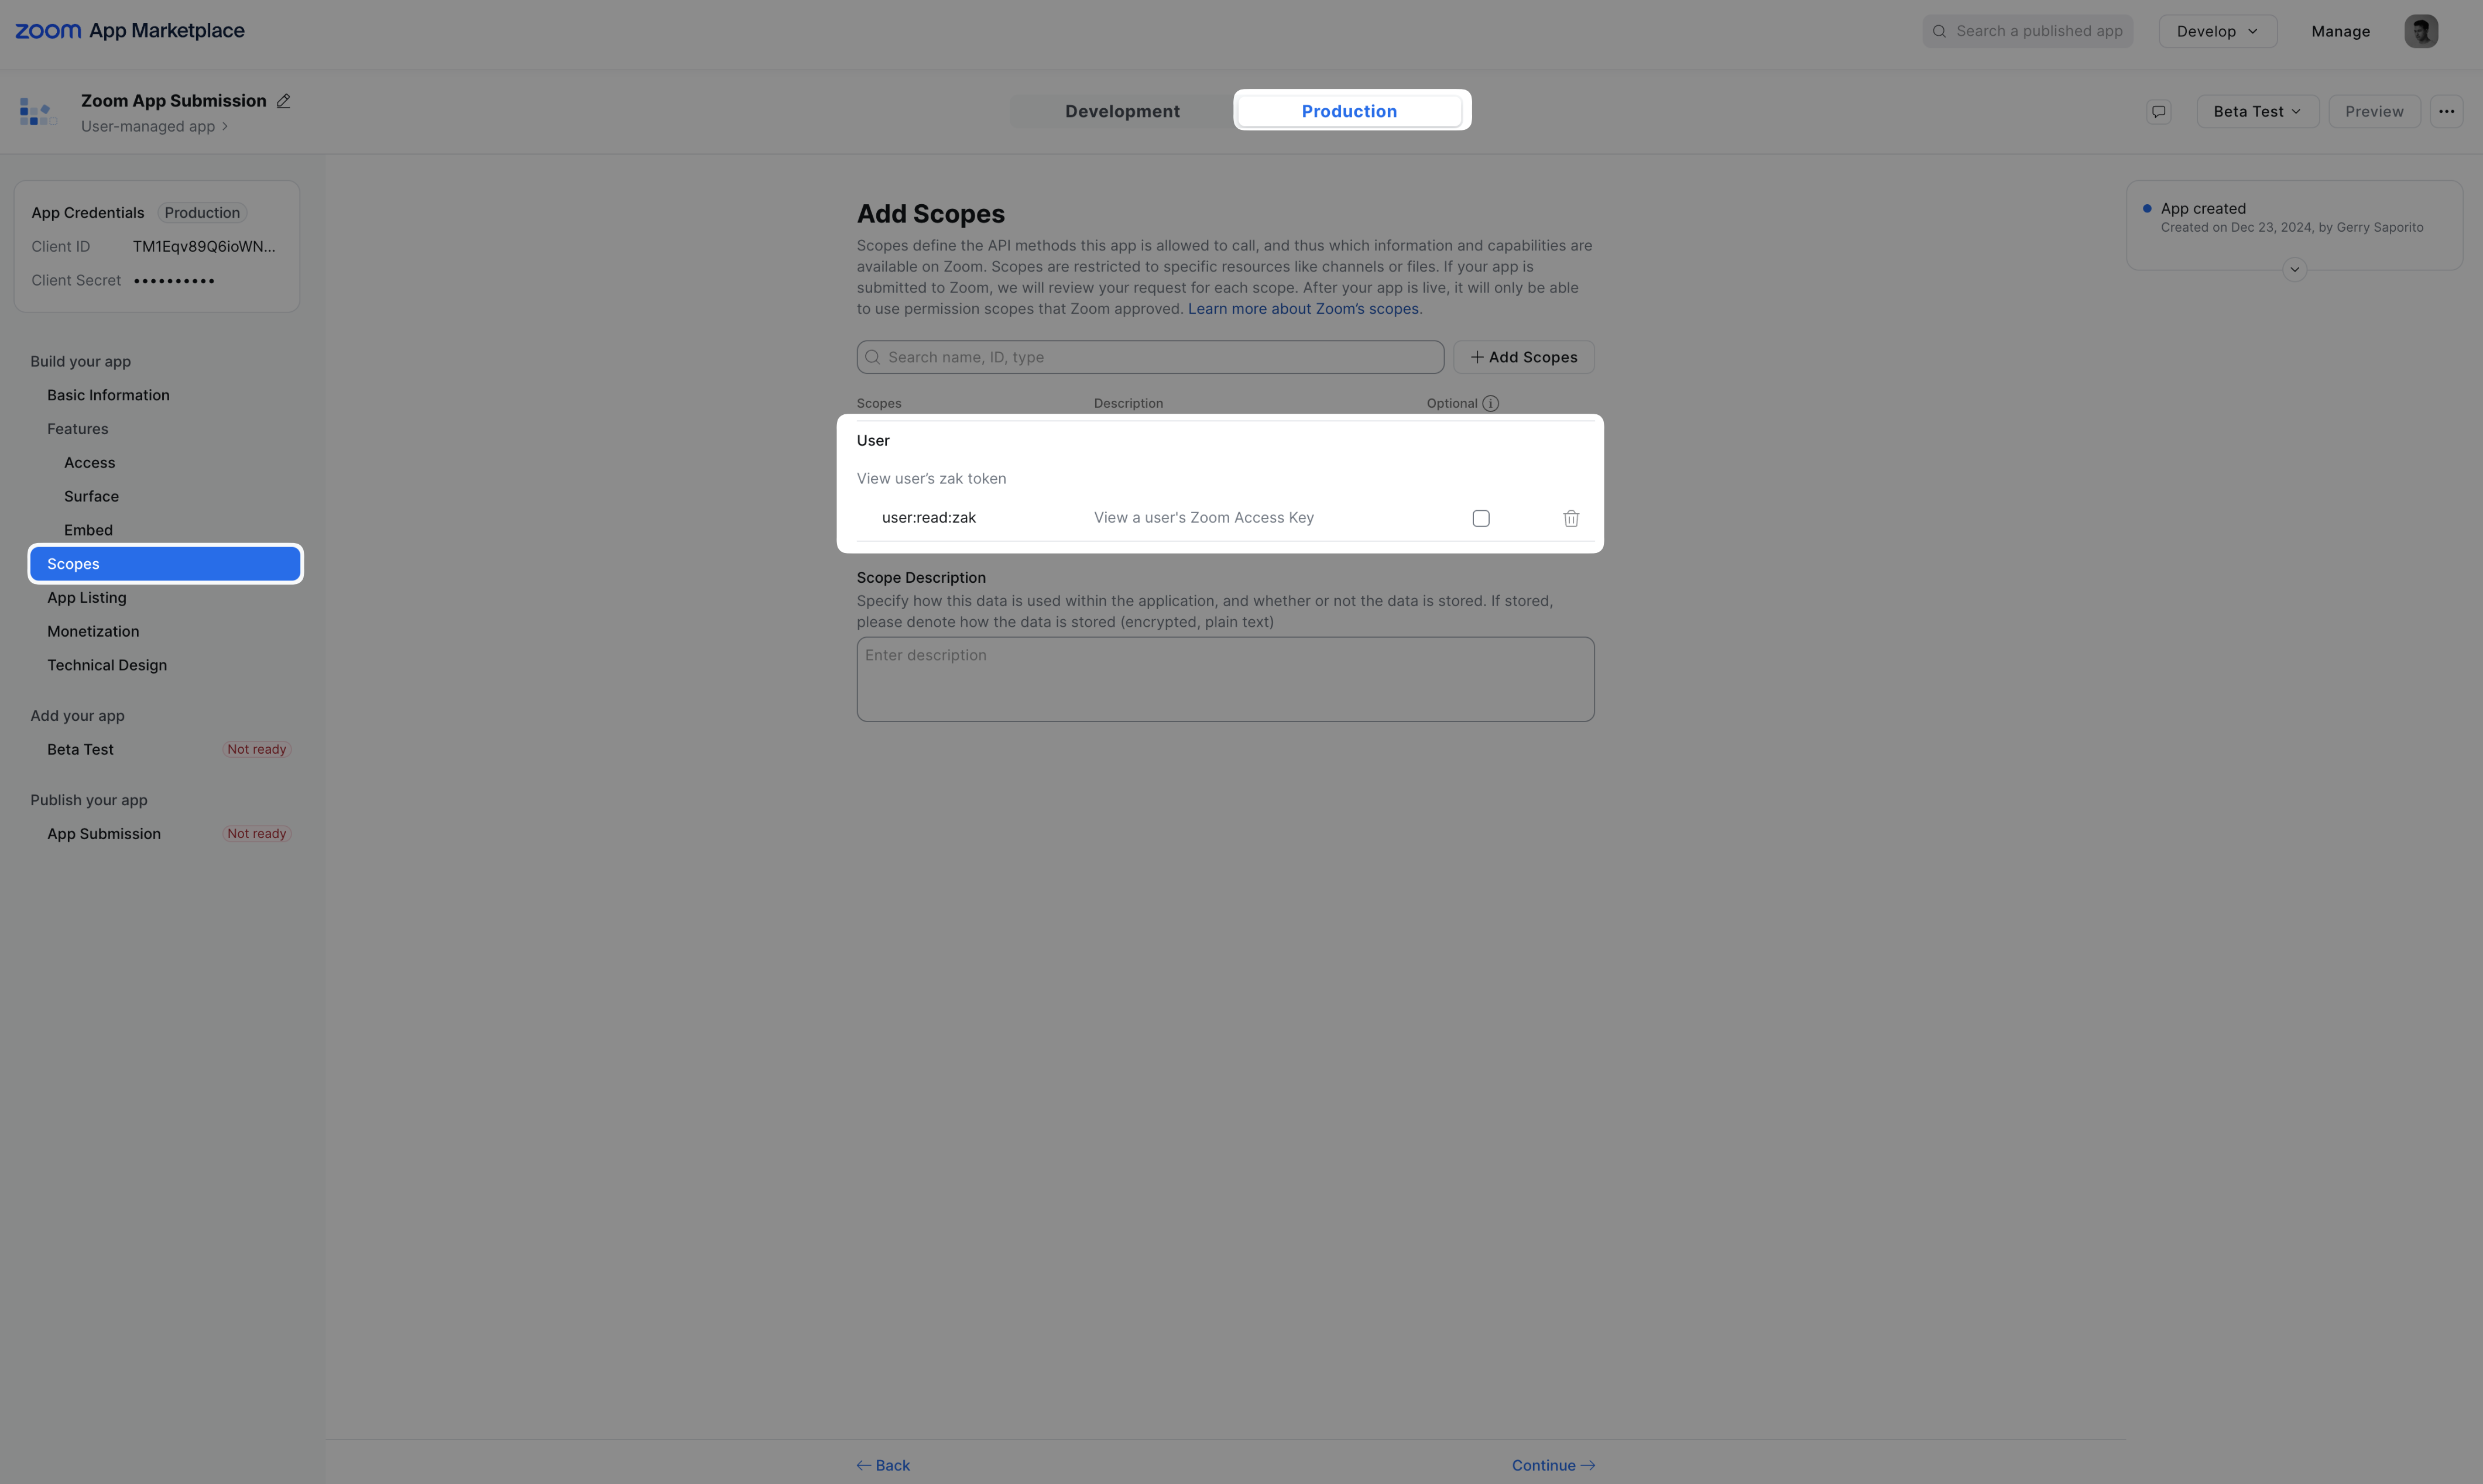
For each scope listed, you must provide a reason why you need each of the scopes in your list in the Scope Description input box.
Note that if you add additional scopes, you will need to justify why you need them. If you forget any scope descriptions, your app will be rejected.
Step 6: Update the app listing
Zoom requires you to have your developer information up to date. To do that, skip to the App Listing tab in the sidebar. From there you should end up in the App Information tab.
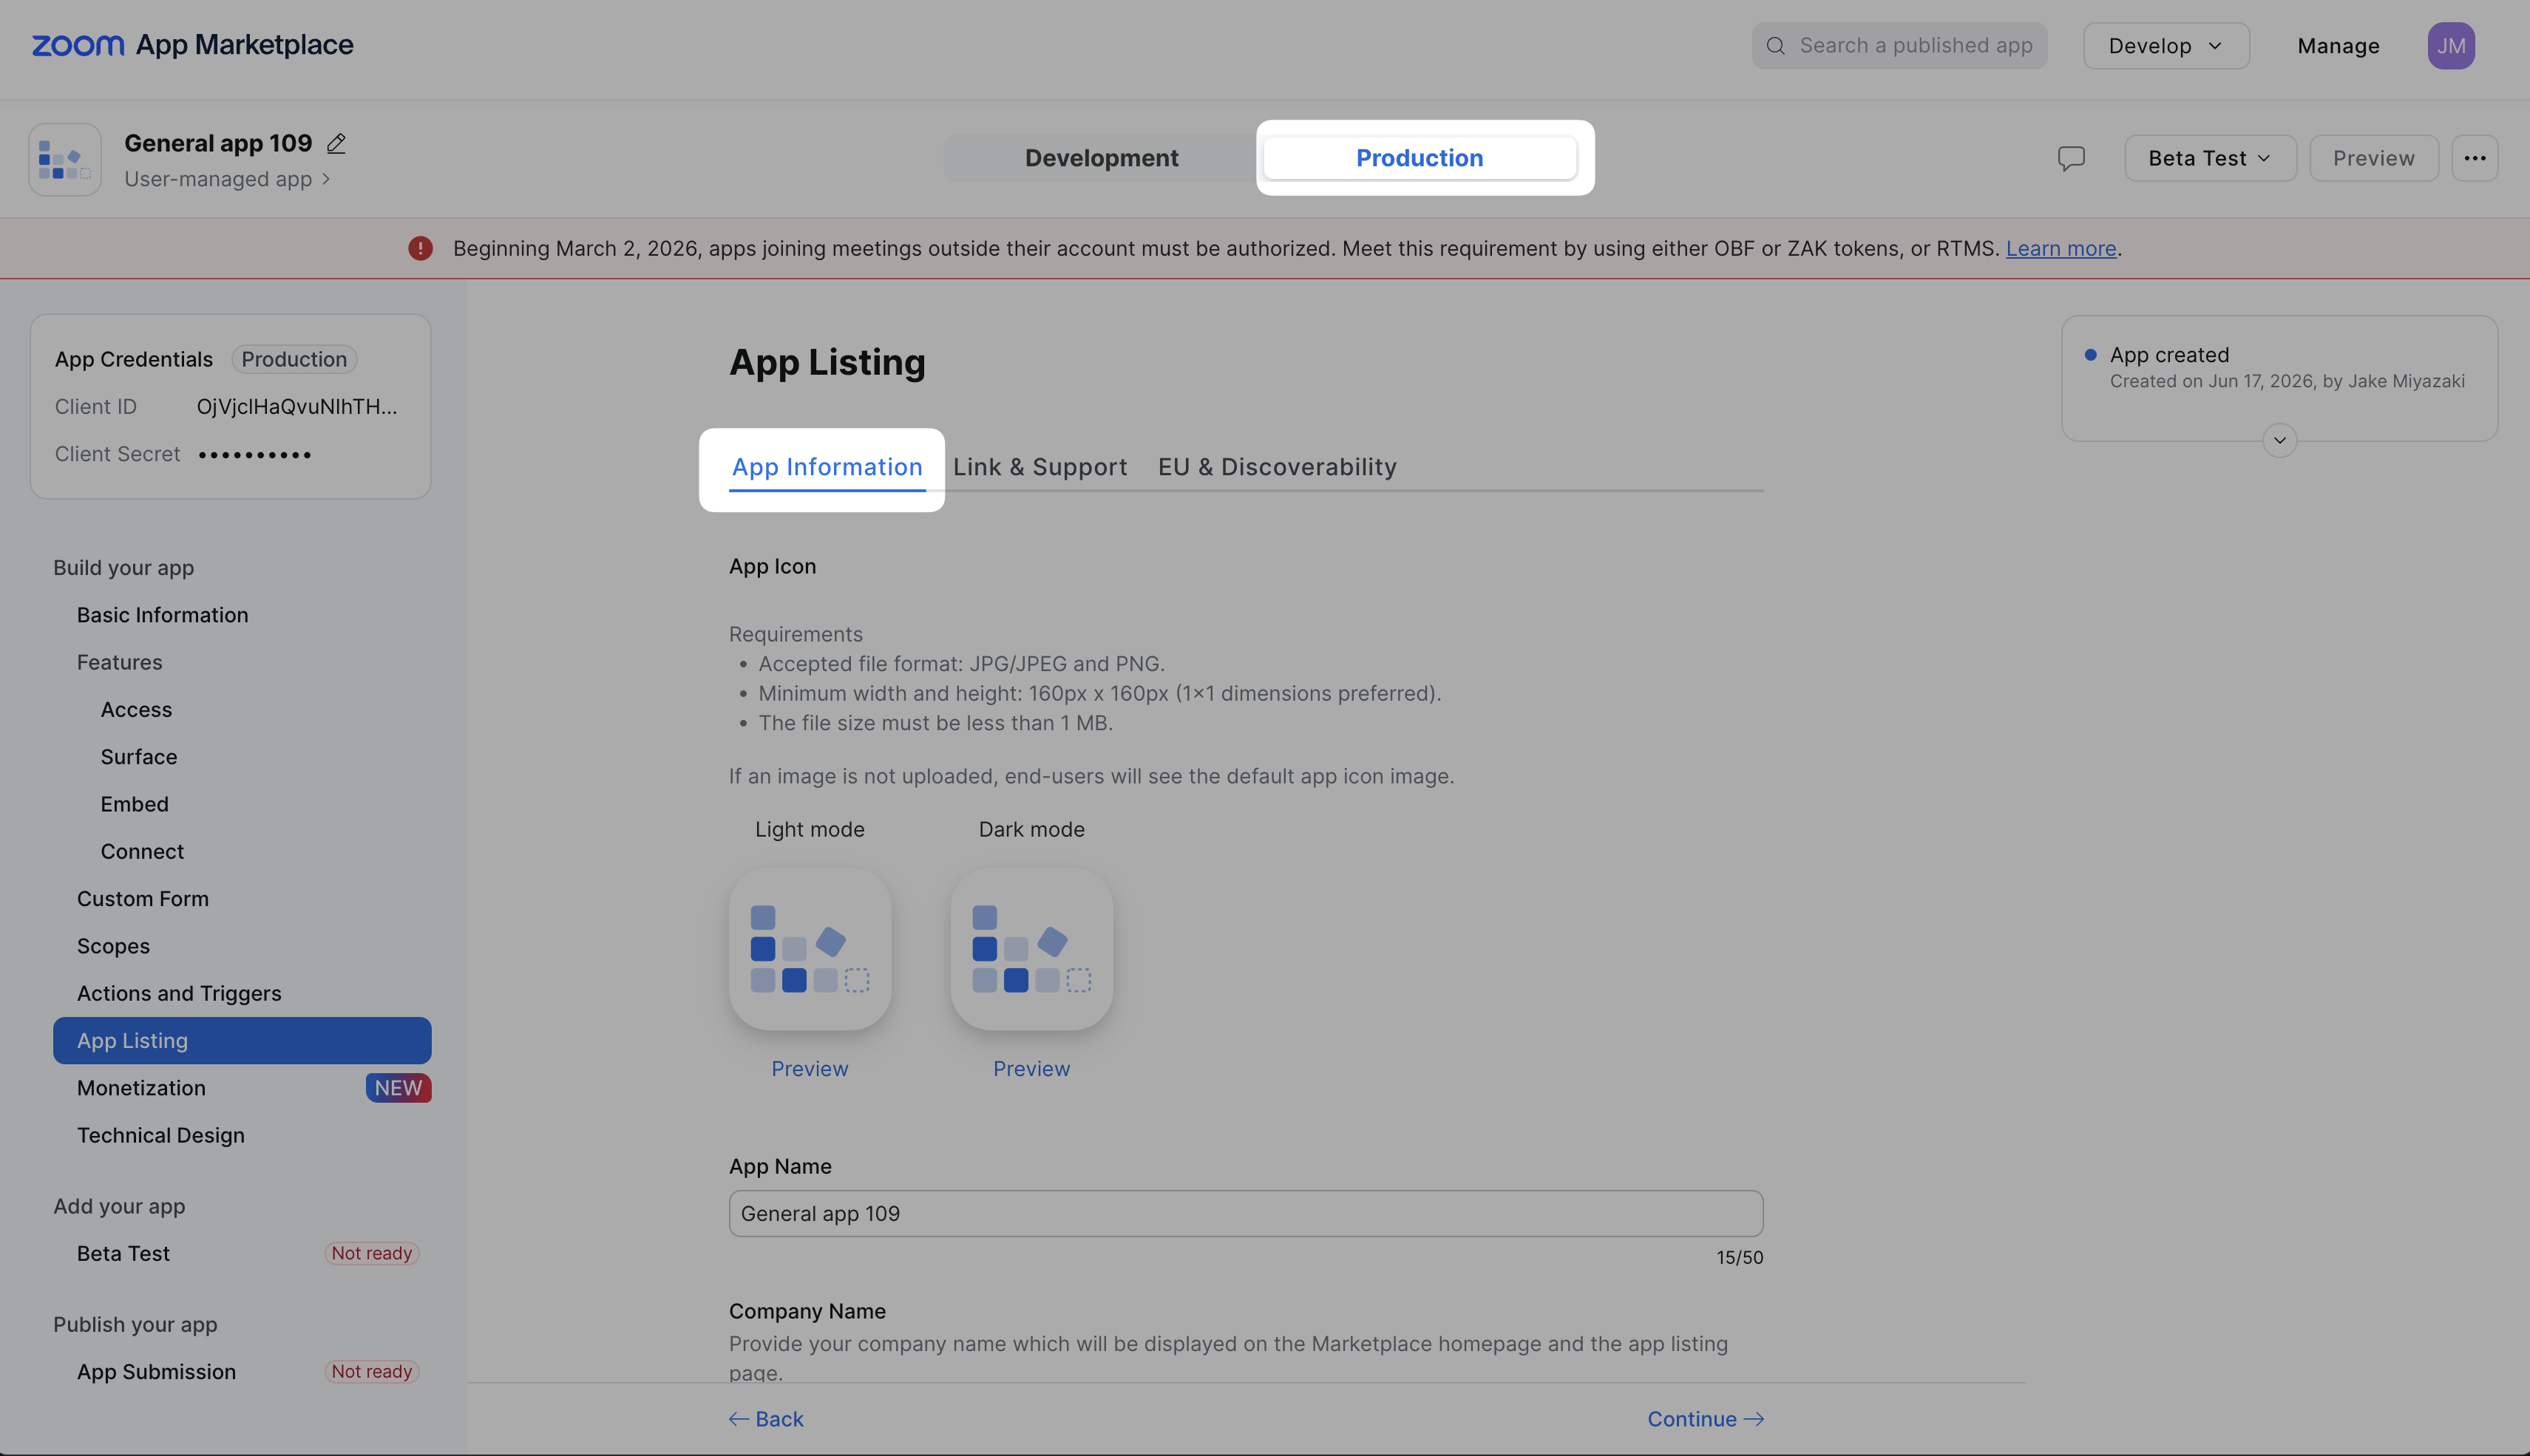
Once here, there are several sections for you to fill out:
- Basic information: Every input (photo and text) must be filled out. You can add information about your app that every user will see. We also strongly recommend adding 3-4 images of your app.
- Categorize your app: Choose at least 1 value for each.
After you fill out this page, click on the Link & Support tab.
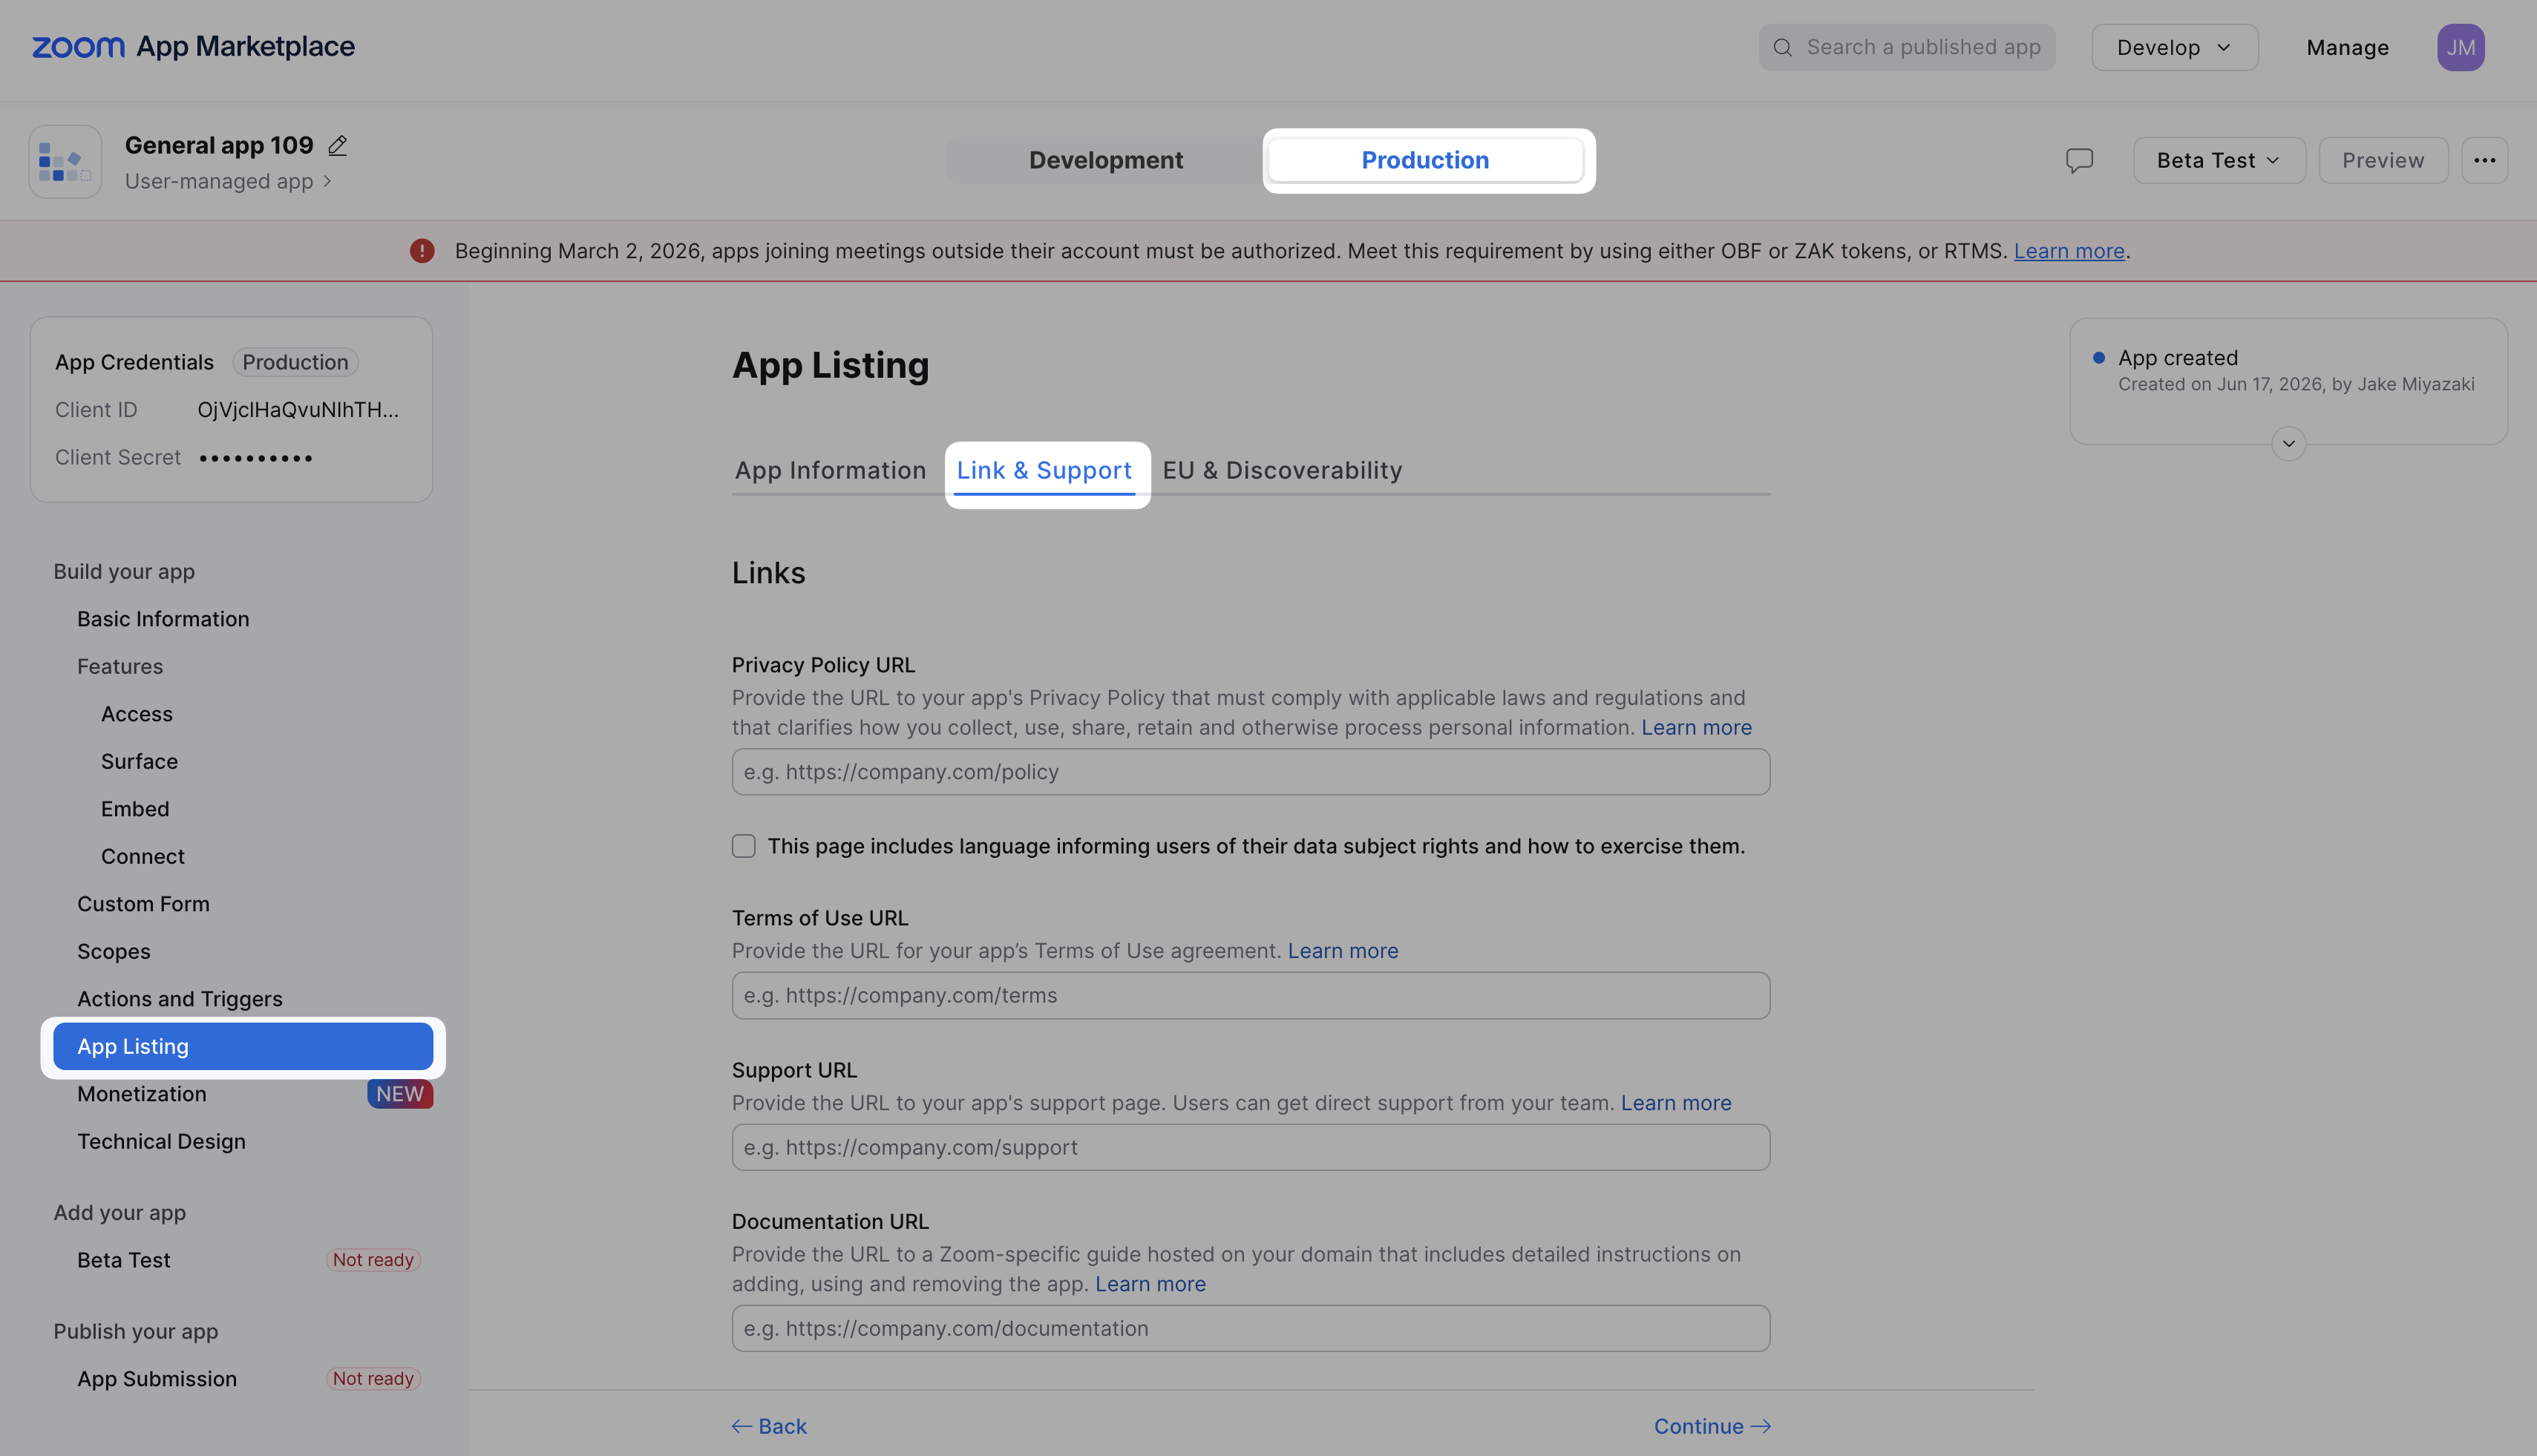
Zoom is very particular on what these links contain and will check/deny your submission if the links don't contain certain information. Make sure each link contains the following:
- Privacy Policy: Provide the URL to your app’s Privacy Policy that must comply with applicable laws and regulations and that clarify how you collect, use, share, retain and otherwise process personal information. You can learn more about this here.
- Terms of Use: Provide the URL for your app’s Terms of Use agreement
- Support: This should at the very least include an email to get in contact with your team for support. Ideally, this would include more. Zoom suggests to include a combination of the following:
- Link to create a support case
- Link to email support
- Link to your knowledge bases or forums
- Link to your Zoom IM - Live Customer Support Channel (if available)
- Support Phone Number (if available)
- Description of what customers can expect when engaging your support team, such as:
- Hours of Your Support Team (if not follow-the-sun)
- 1st Response SLA (Maximum time a customer should expect to wait until they receive their 1st HUMAN response from your Customer Support Team)
- Documentation: Your documentation page should clearly demonstrate how to use your product, as well as how to get started with it and remove it from their Zoom account You can see detailed instructions for documentation pages here.. This page must include:
-
Configure URL:
- If you're not using the Zoom OAuth integration, leave this blank.
- If you are using the Zoom OAuth integration, provide a URL link to the page in your app where a user can manage their Zoom integration (for example, where they can connect or disconnect their Zoom Account).
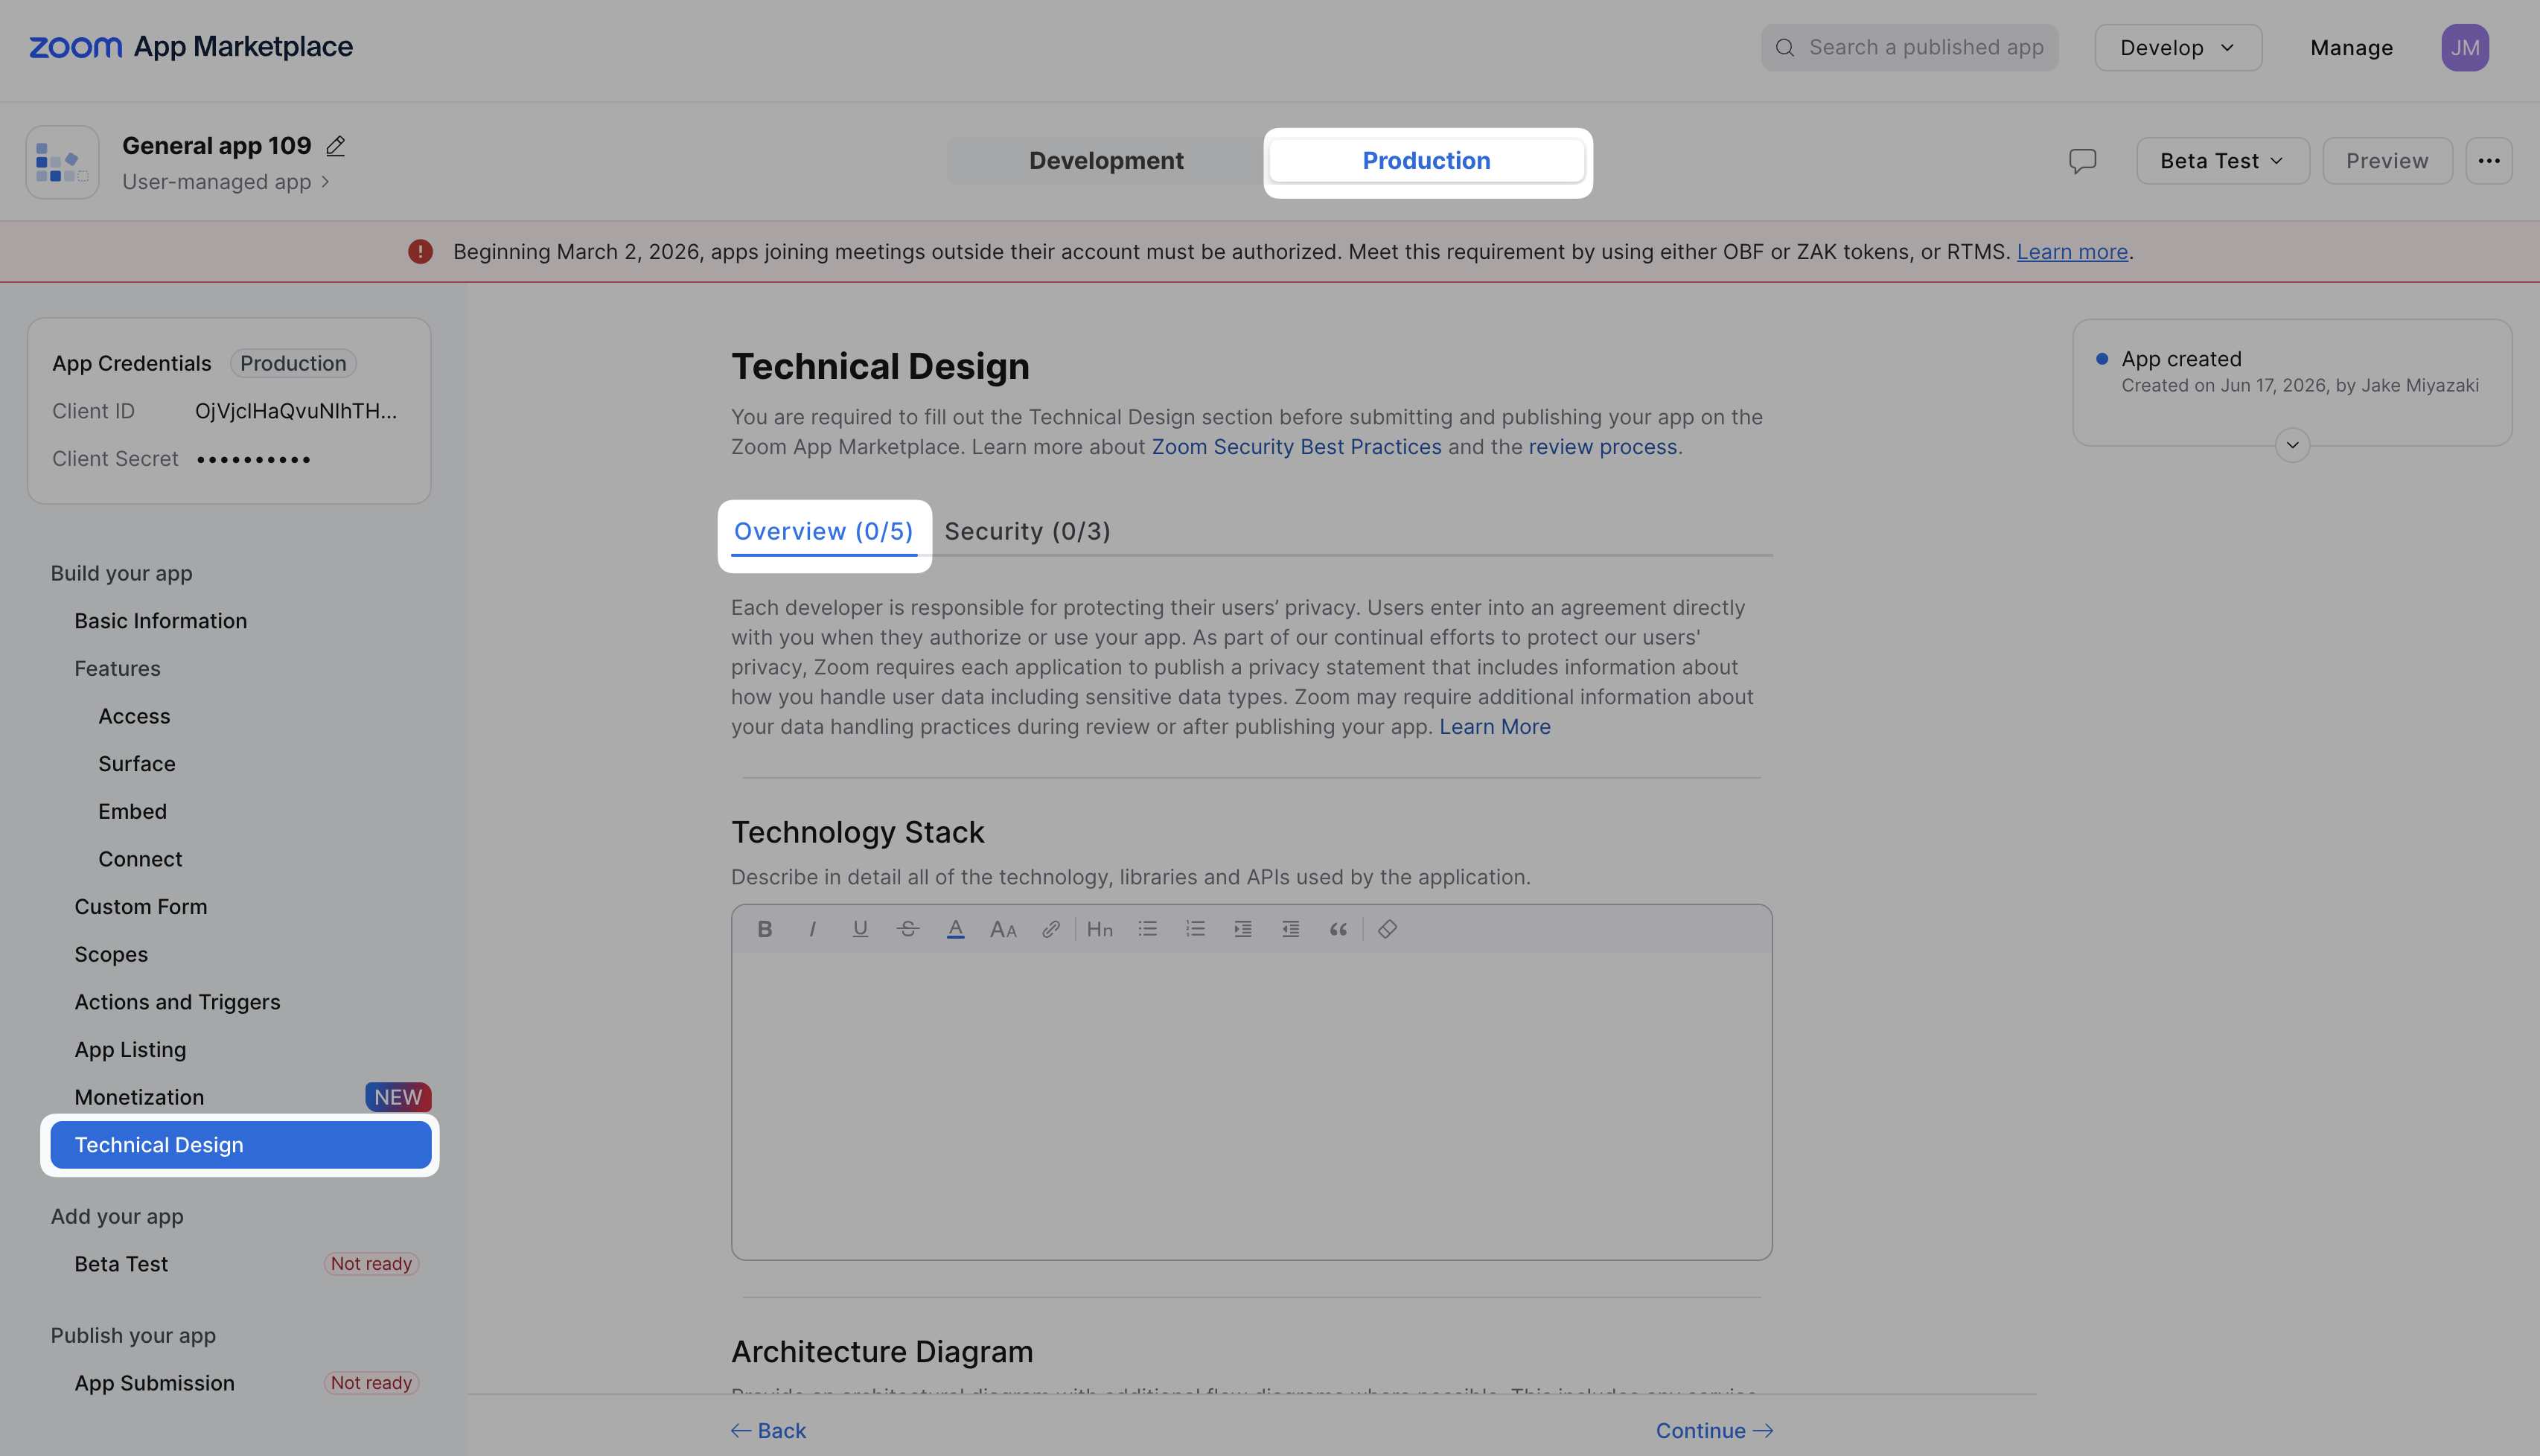
Step 7: Update the technical design
Now, Zoom needs information about how you built your app and if you're compliant. Go to the "Technical Design" tab in the sidebar. From there you should end up in the Overview tab. Fill out the information in the Overview and Security sections.
Step 8: Zoom App Submission Test Plan
Finally, head to the App Submission tab in the sidebar
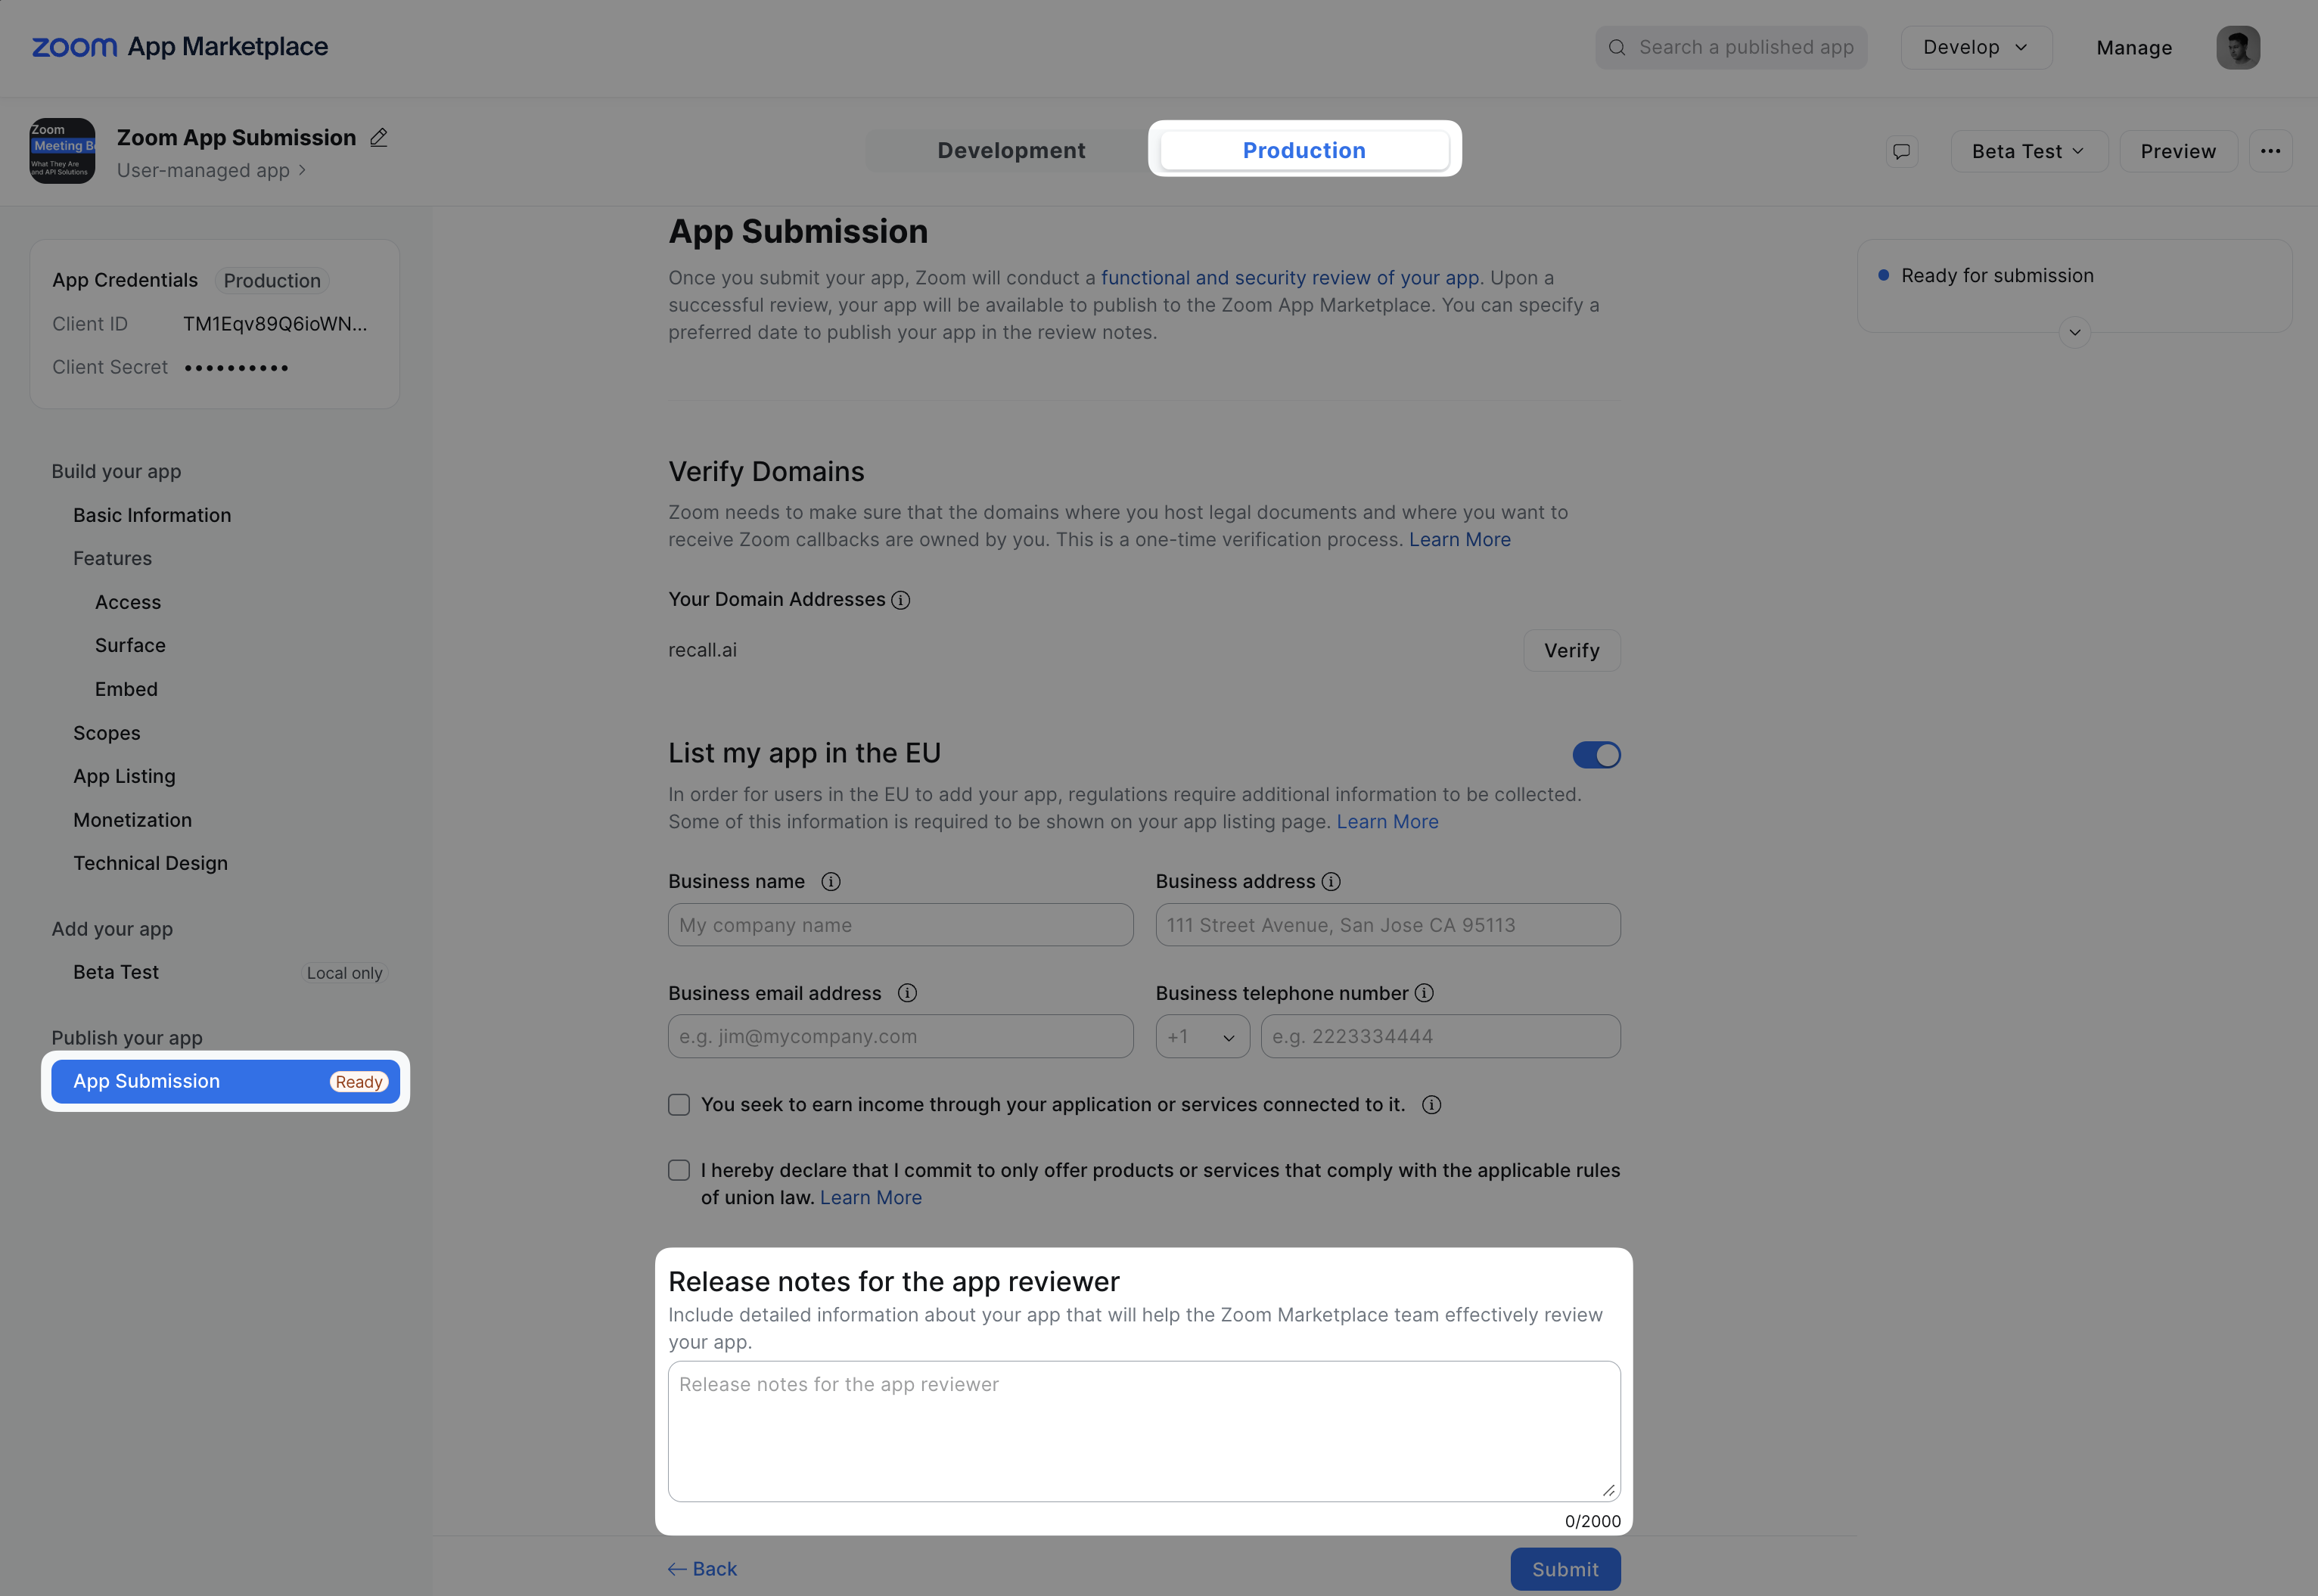
Once there, there's a text area called "Release Notes" where you need to explain to the reviewer how to test your app.
Release Notes is a critical step. To minimize any ambiguity and ensure your first app submission is successful, record a Loom of yourself walking through your app (from login/account creation to end) and paste the Loom link in the Release Notes field. The reviewer will watch your Loom and reproduce the exact steps to test your app.
After you add your Loom walkthrough, submit the app and wait for a Zoom app reviewer to get back to you (this usually takes 5-7 business days).
Conclusion
The Recall.ai team has lots of experience with the Zoom app submission process and is happy to support you if you need a hand or have any questions. We wish you luck and hope this guide was helpful!
Frequently asked questions about Zoom app submission
When we go through the Zoom SDK Key publishing process, does this mean our app will be listed on the Zoom Marketplace?
Yes. Your Zoom SDK app will be listed on the Zoom Marketplace. If you don't want the SDK app to be publicly listed, you can mention in the Zoom publishing review notes that you don't want your app to be listed.
OAuth - My app is already approved but I want to add OAuth scopes. Do I resubmit my current app or create a new one?
You can re-submit your current app after adding the necessary scopes. Your app will continue to work as-expected in production until your new submission is approved.
Why was my app rejected?
If your app was rejected for any reason, the Zoom app reviewer will provide information detailing why it was rejected. You can find this information in the App Notes as shown below.
Why can't my users install my Zoom app?
Some Zoom workspaces require administrators to approve apps before they can be downloaded to the workspace. If your users are seeing a message like "Unable to install this app because it needs pre-approval by your account admin", they'll need to request pre-approval from their Zoom administrator. This can be done by searching your app on the Zoom Marketplace. On the application page, the user will see an option to request pre-approval from their Zoom admin. Once they request approval, the admin will receive an email from noreply@zoom.us with details on how to approve your application. After it's approved, the user will be able to install the Zoom app.
